


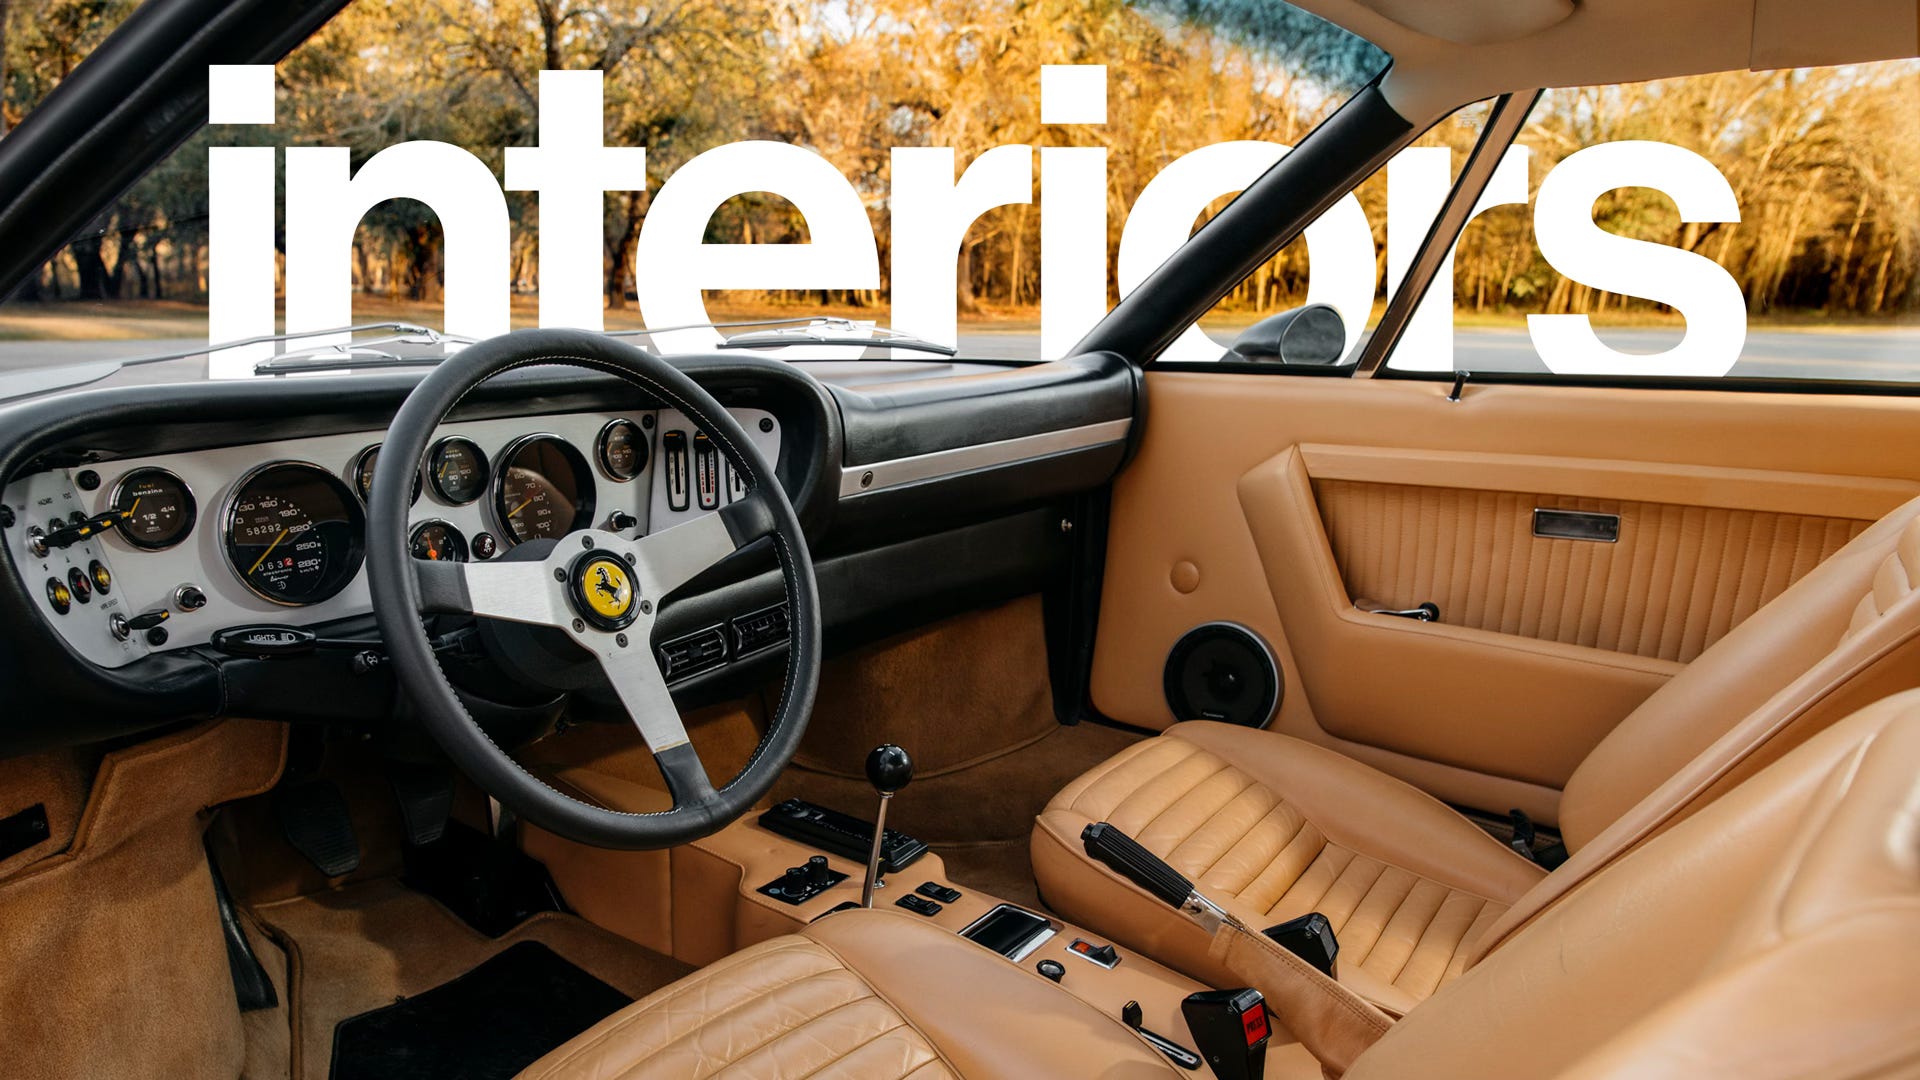
Photograph Car Interiors Like a Pro
I made a detailed how-to about car interiors, and now I genuinely worry I might be giving away too many of my secrets for free. Ah well, too late now.

I‘ve talked about shooting interior photos in little pieces, throughout a number of videos, but today I’m going to expand on this subject in-depth, and compile all my interior photography techniques into once place.
I ended up with the most …information-dense video I’ve ever made.
It’s all just far more complex than can be put into a catchy, numbered list of tips, because there are so many variables. So instead of a nice listicle, I’ve divided this into four categories:
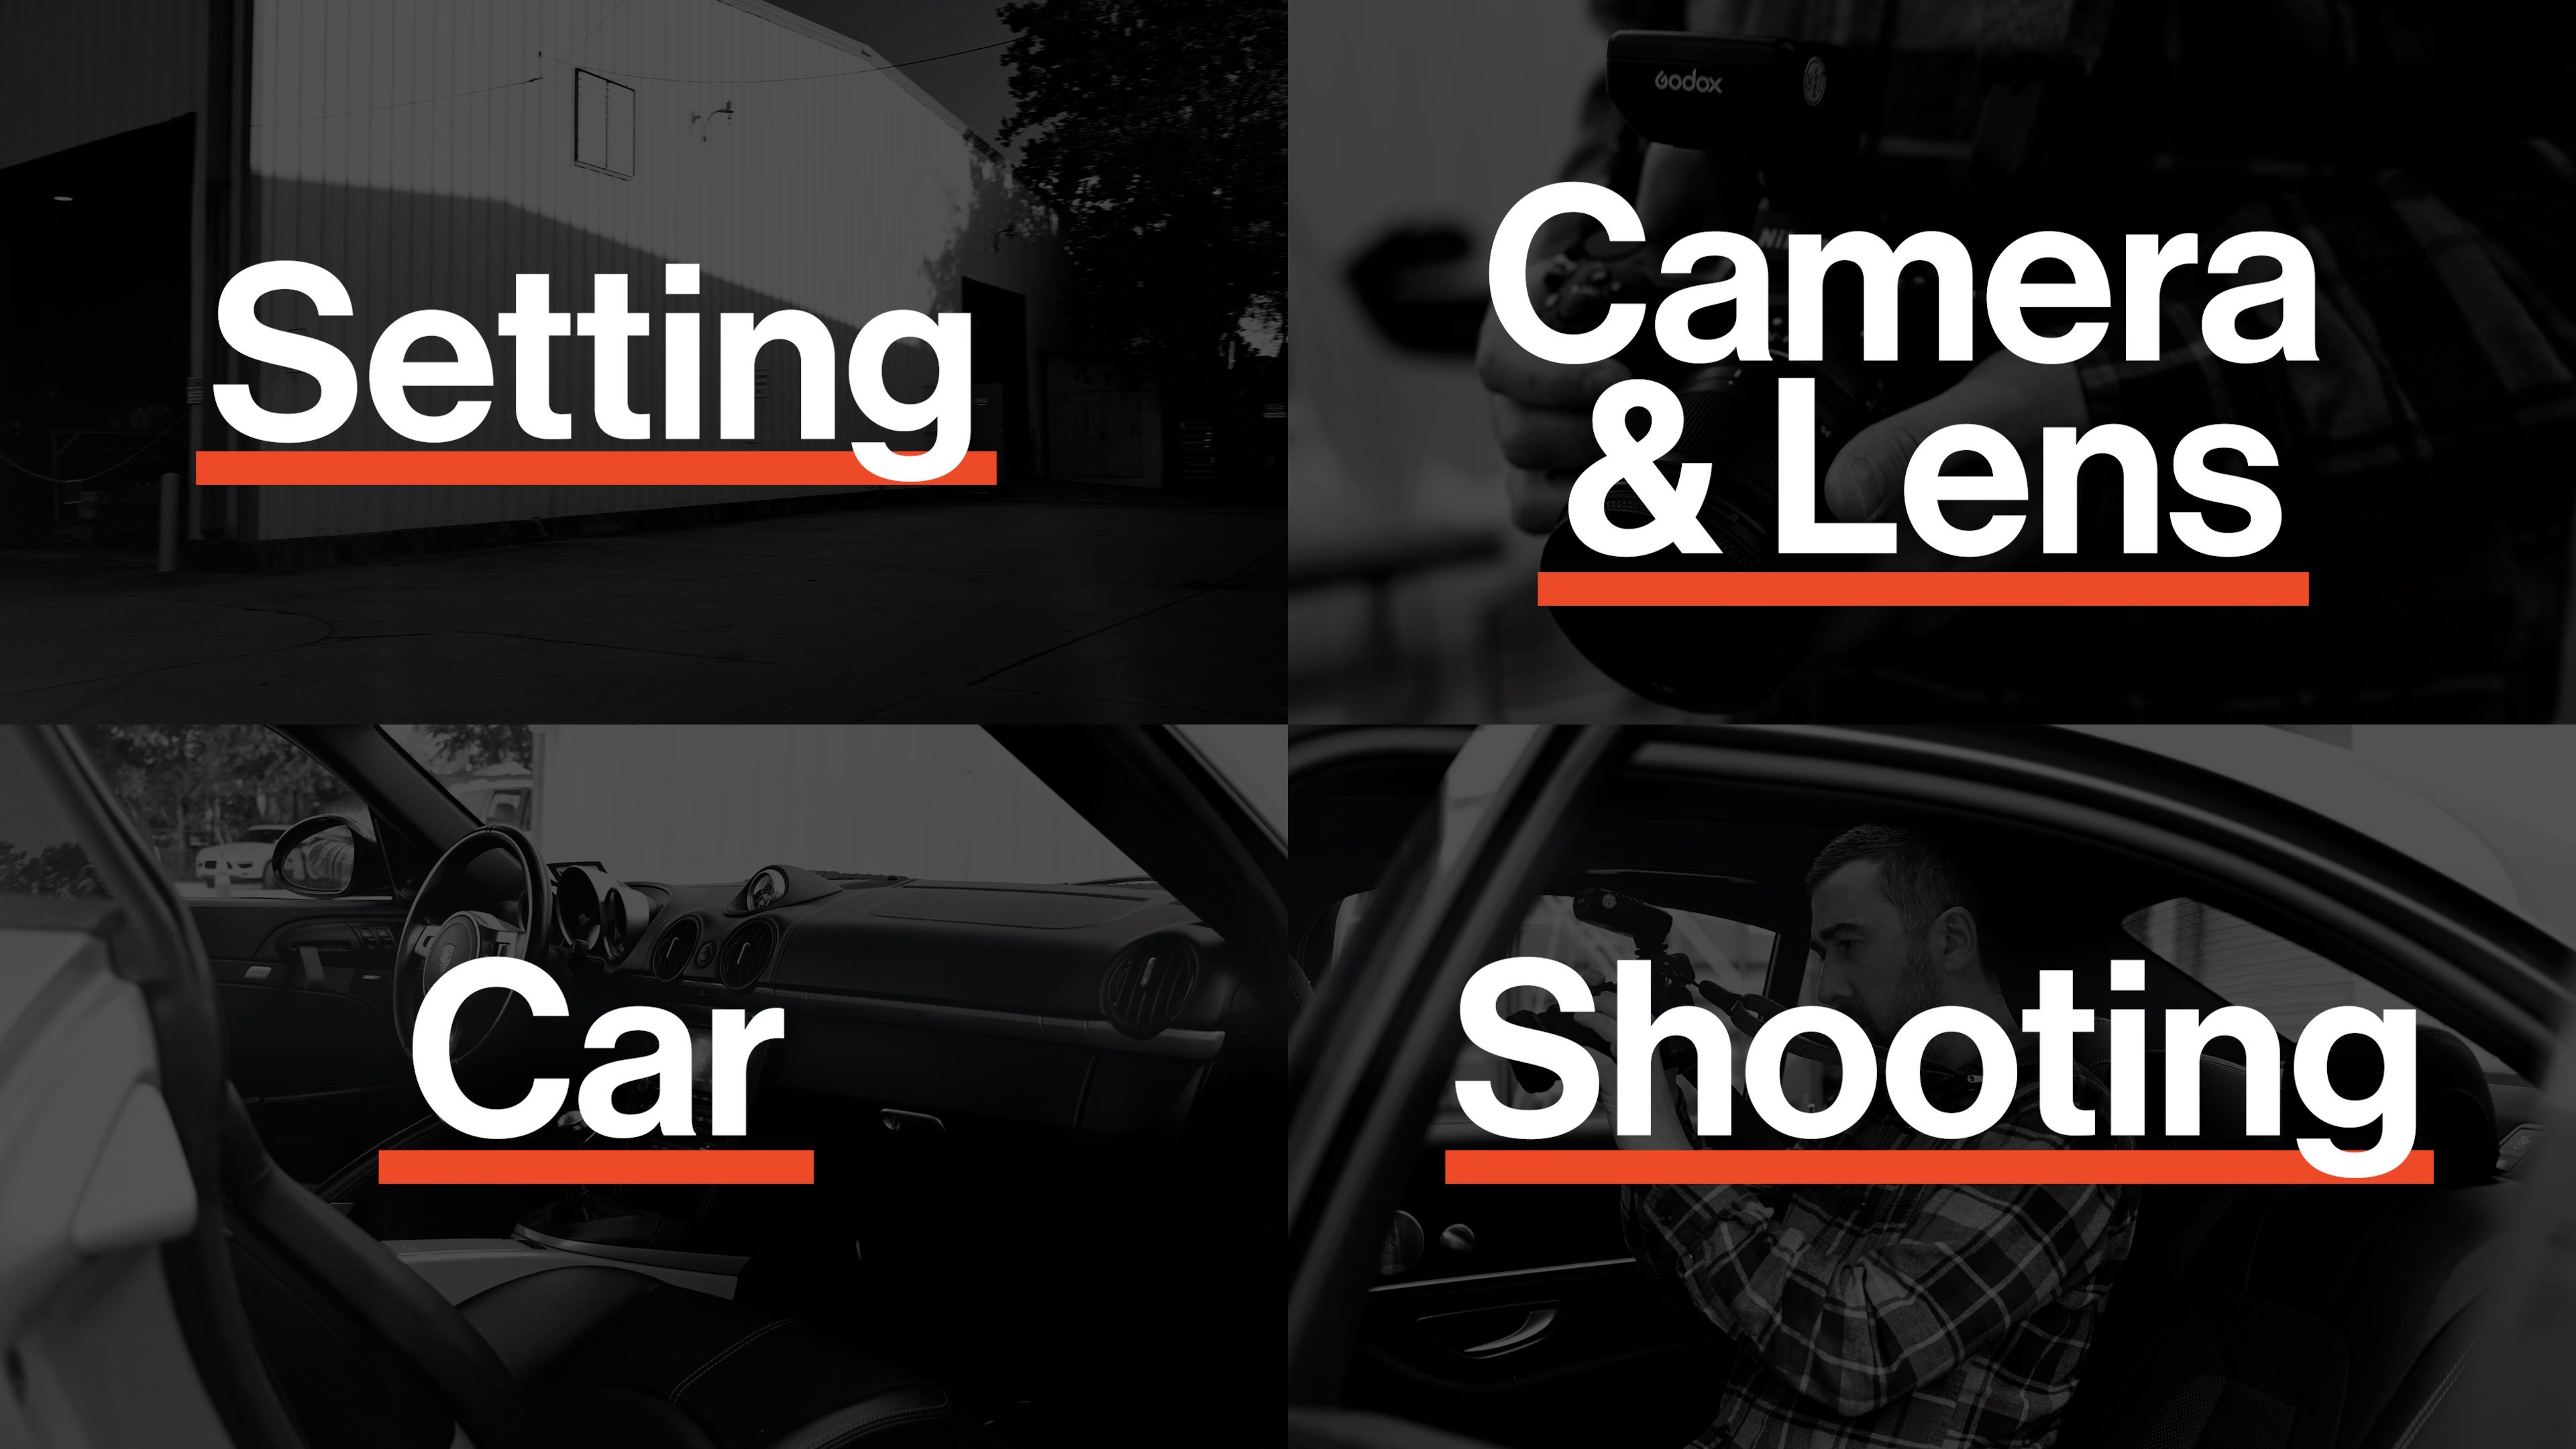
Location – that’s your setting, surroundings, time of day.
Car – things you can do and look for with your car subject that will make your life easier
Camera Settings & Lens – lenses and basic settings for your camera
And finally, Shooting Technique – actually pointing the camera and taking the photo
If you have the first three sorted out, most of the work will already be done for you for that last, critical step. So here we go.
Setting

I find that the biggest challenge of shooting car interiors is unwanted contrast. This could be contrast from inside the car versus what’s outside the windows, or contrast from sunlight coming through, lighting up some parts of the interior but casting shadows on other parts.
So you want to choose a location where you can have shade during the daylight hours. Generally, a couple hours before sunset, the shadows are long enough that you can park somewhere near something tall and be in full shade.
You also want a location that has a distraction-free background outside of the car. Trees, walls, simple structures are generally best, just watch out for something really busy outside of the car that will show up through the windows, and distract from the interior.
You also probably want to be parked somewhere level, so that everything in the background isn’t askew, which can also be distracting.
Once you’ve found your position, it’s time to look at the car.
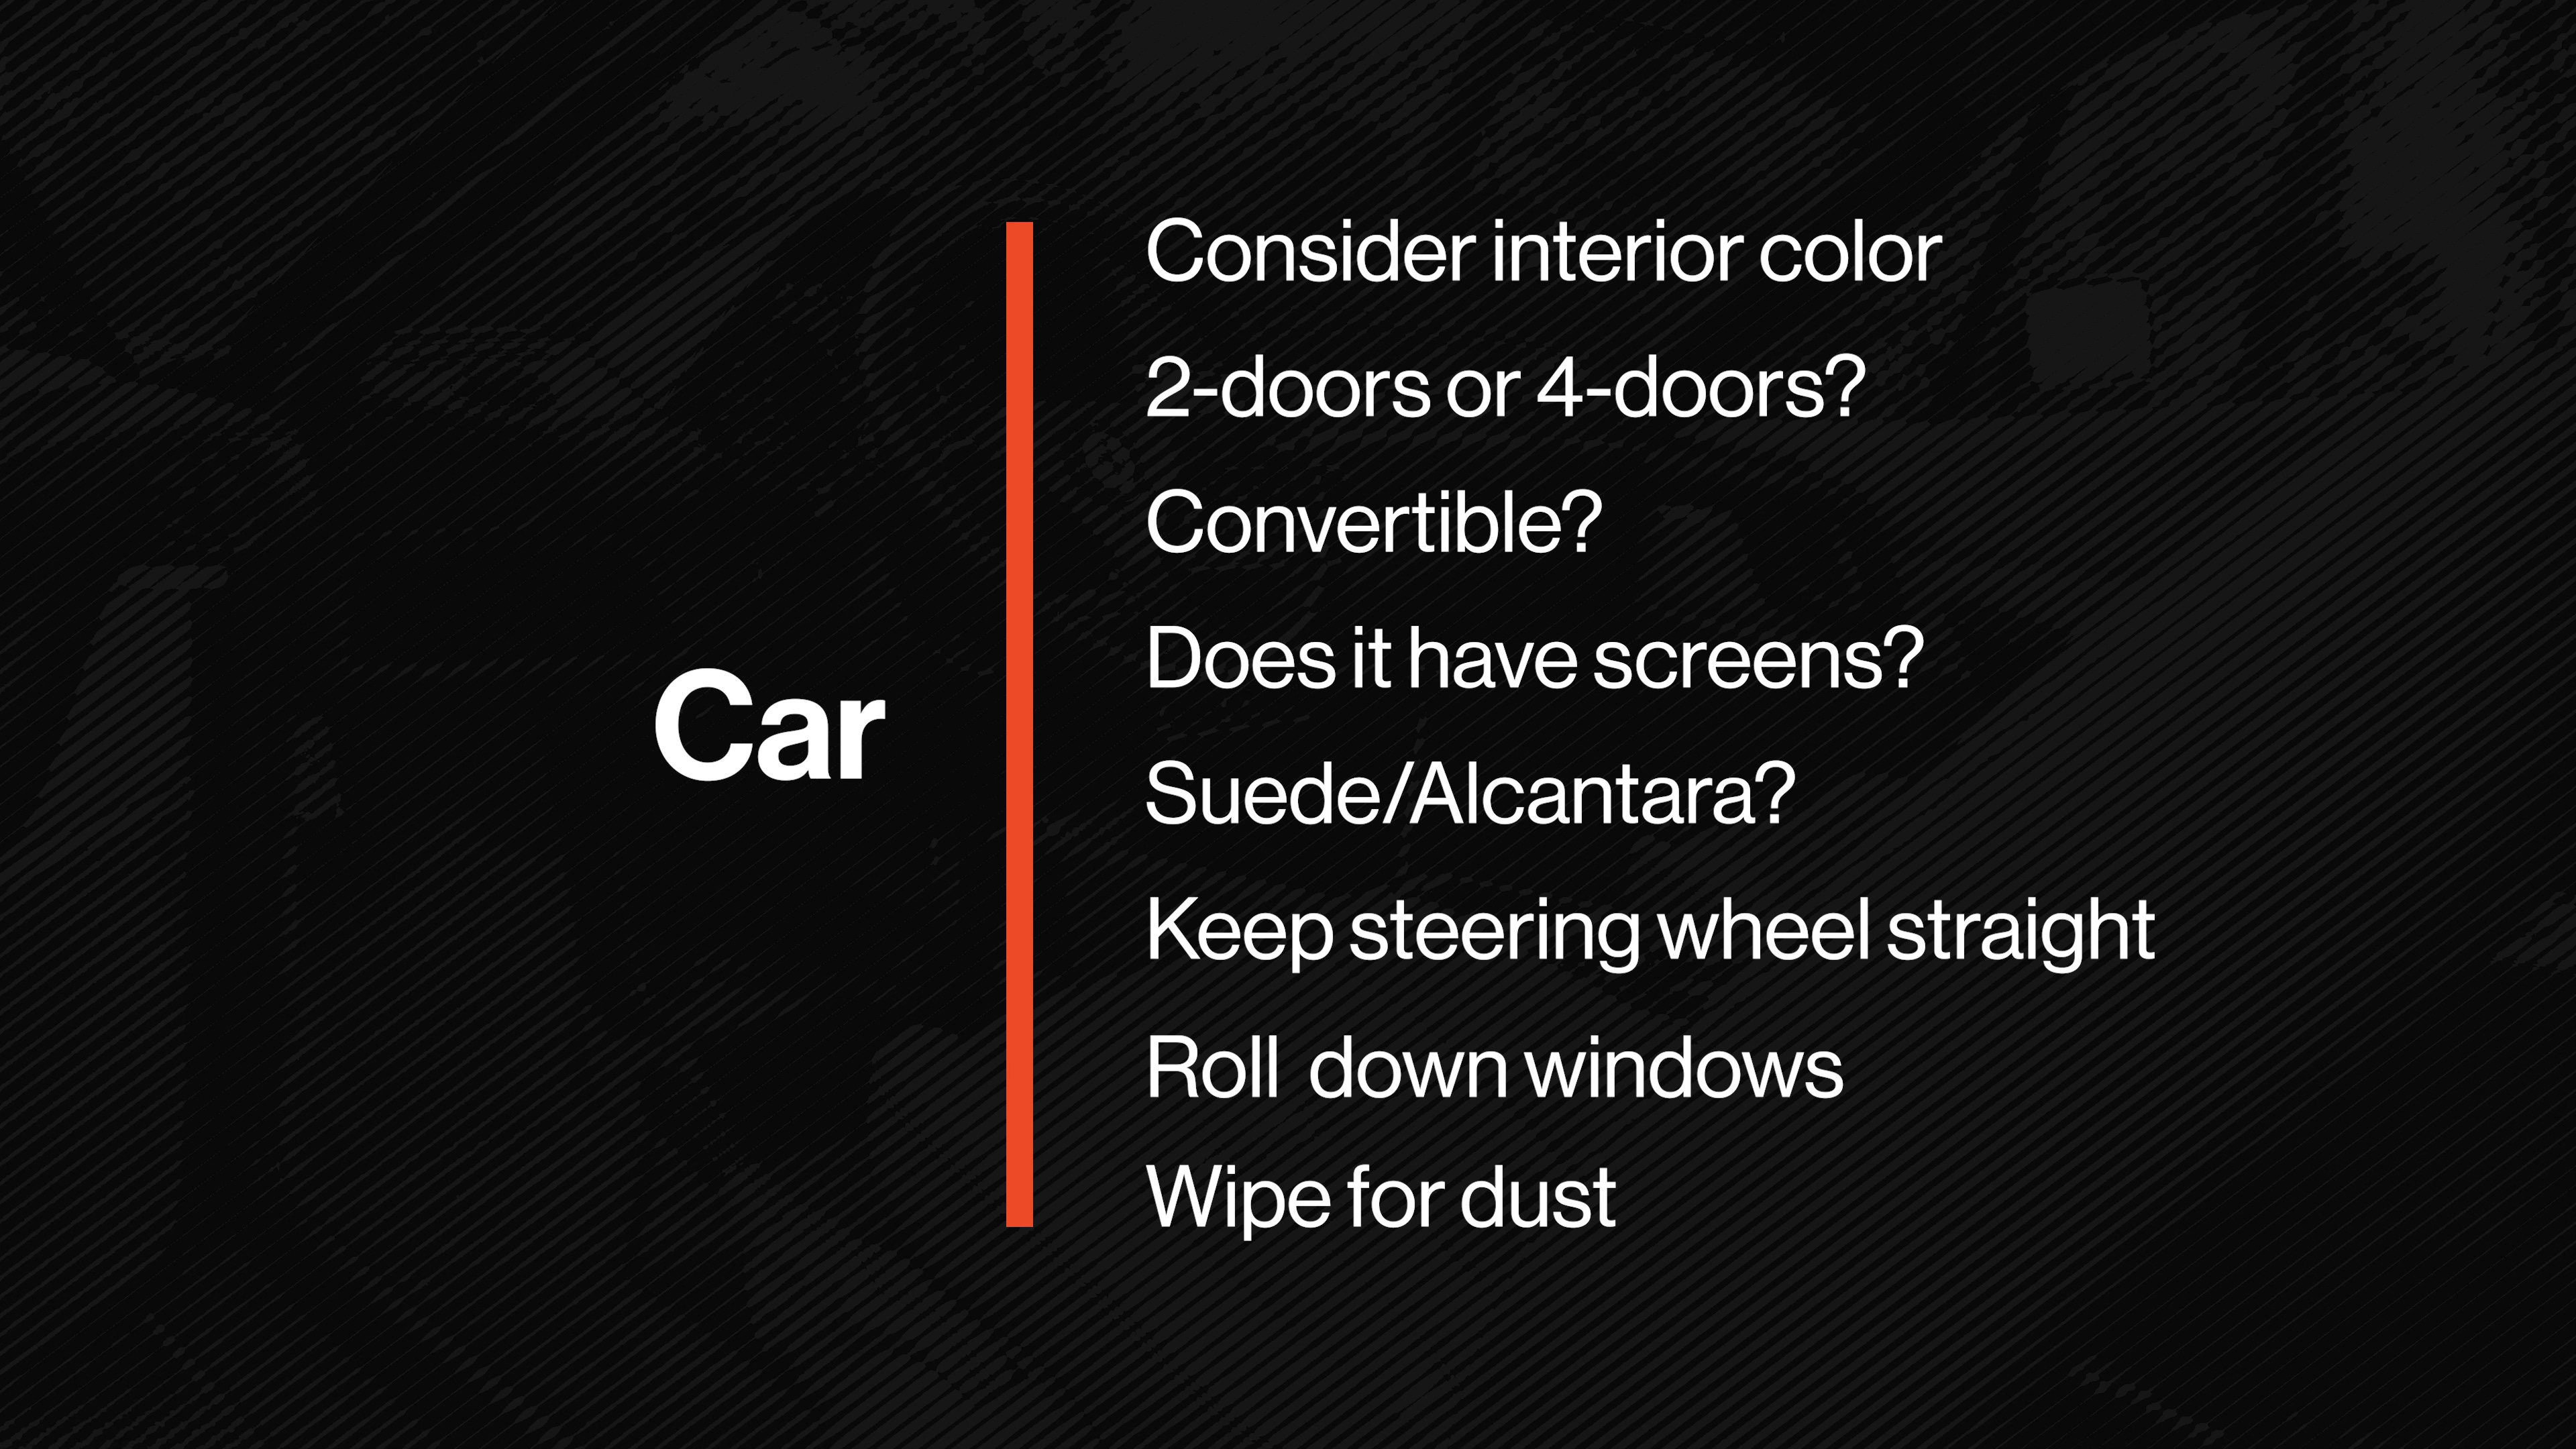
Car
Before you take a single interior photo, ask yourself a few questions about the car.
Does it have a light interior or dark interior?
Are there four doors or two doors?
Is it a convertible?
Does the car have screens in it?
Interior Color
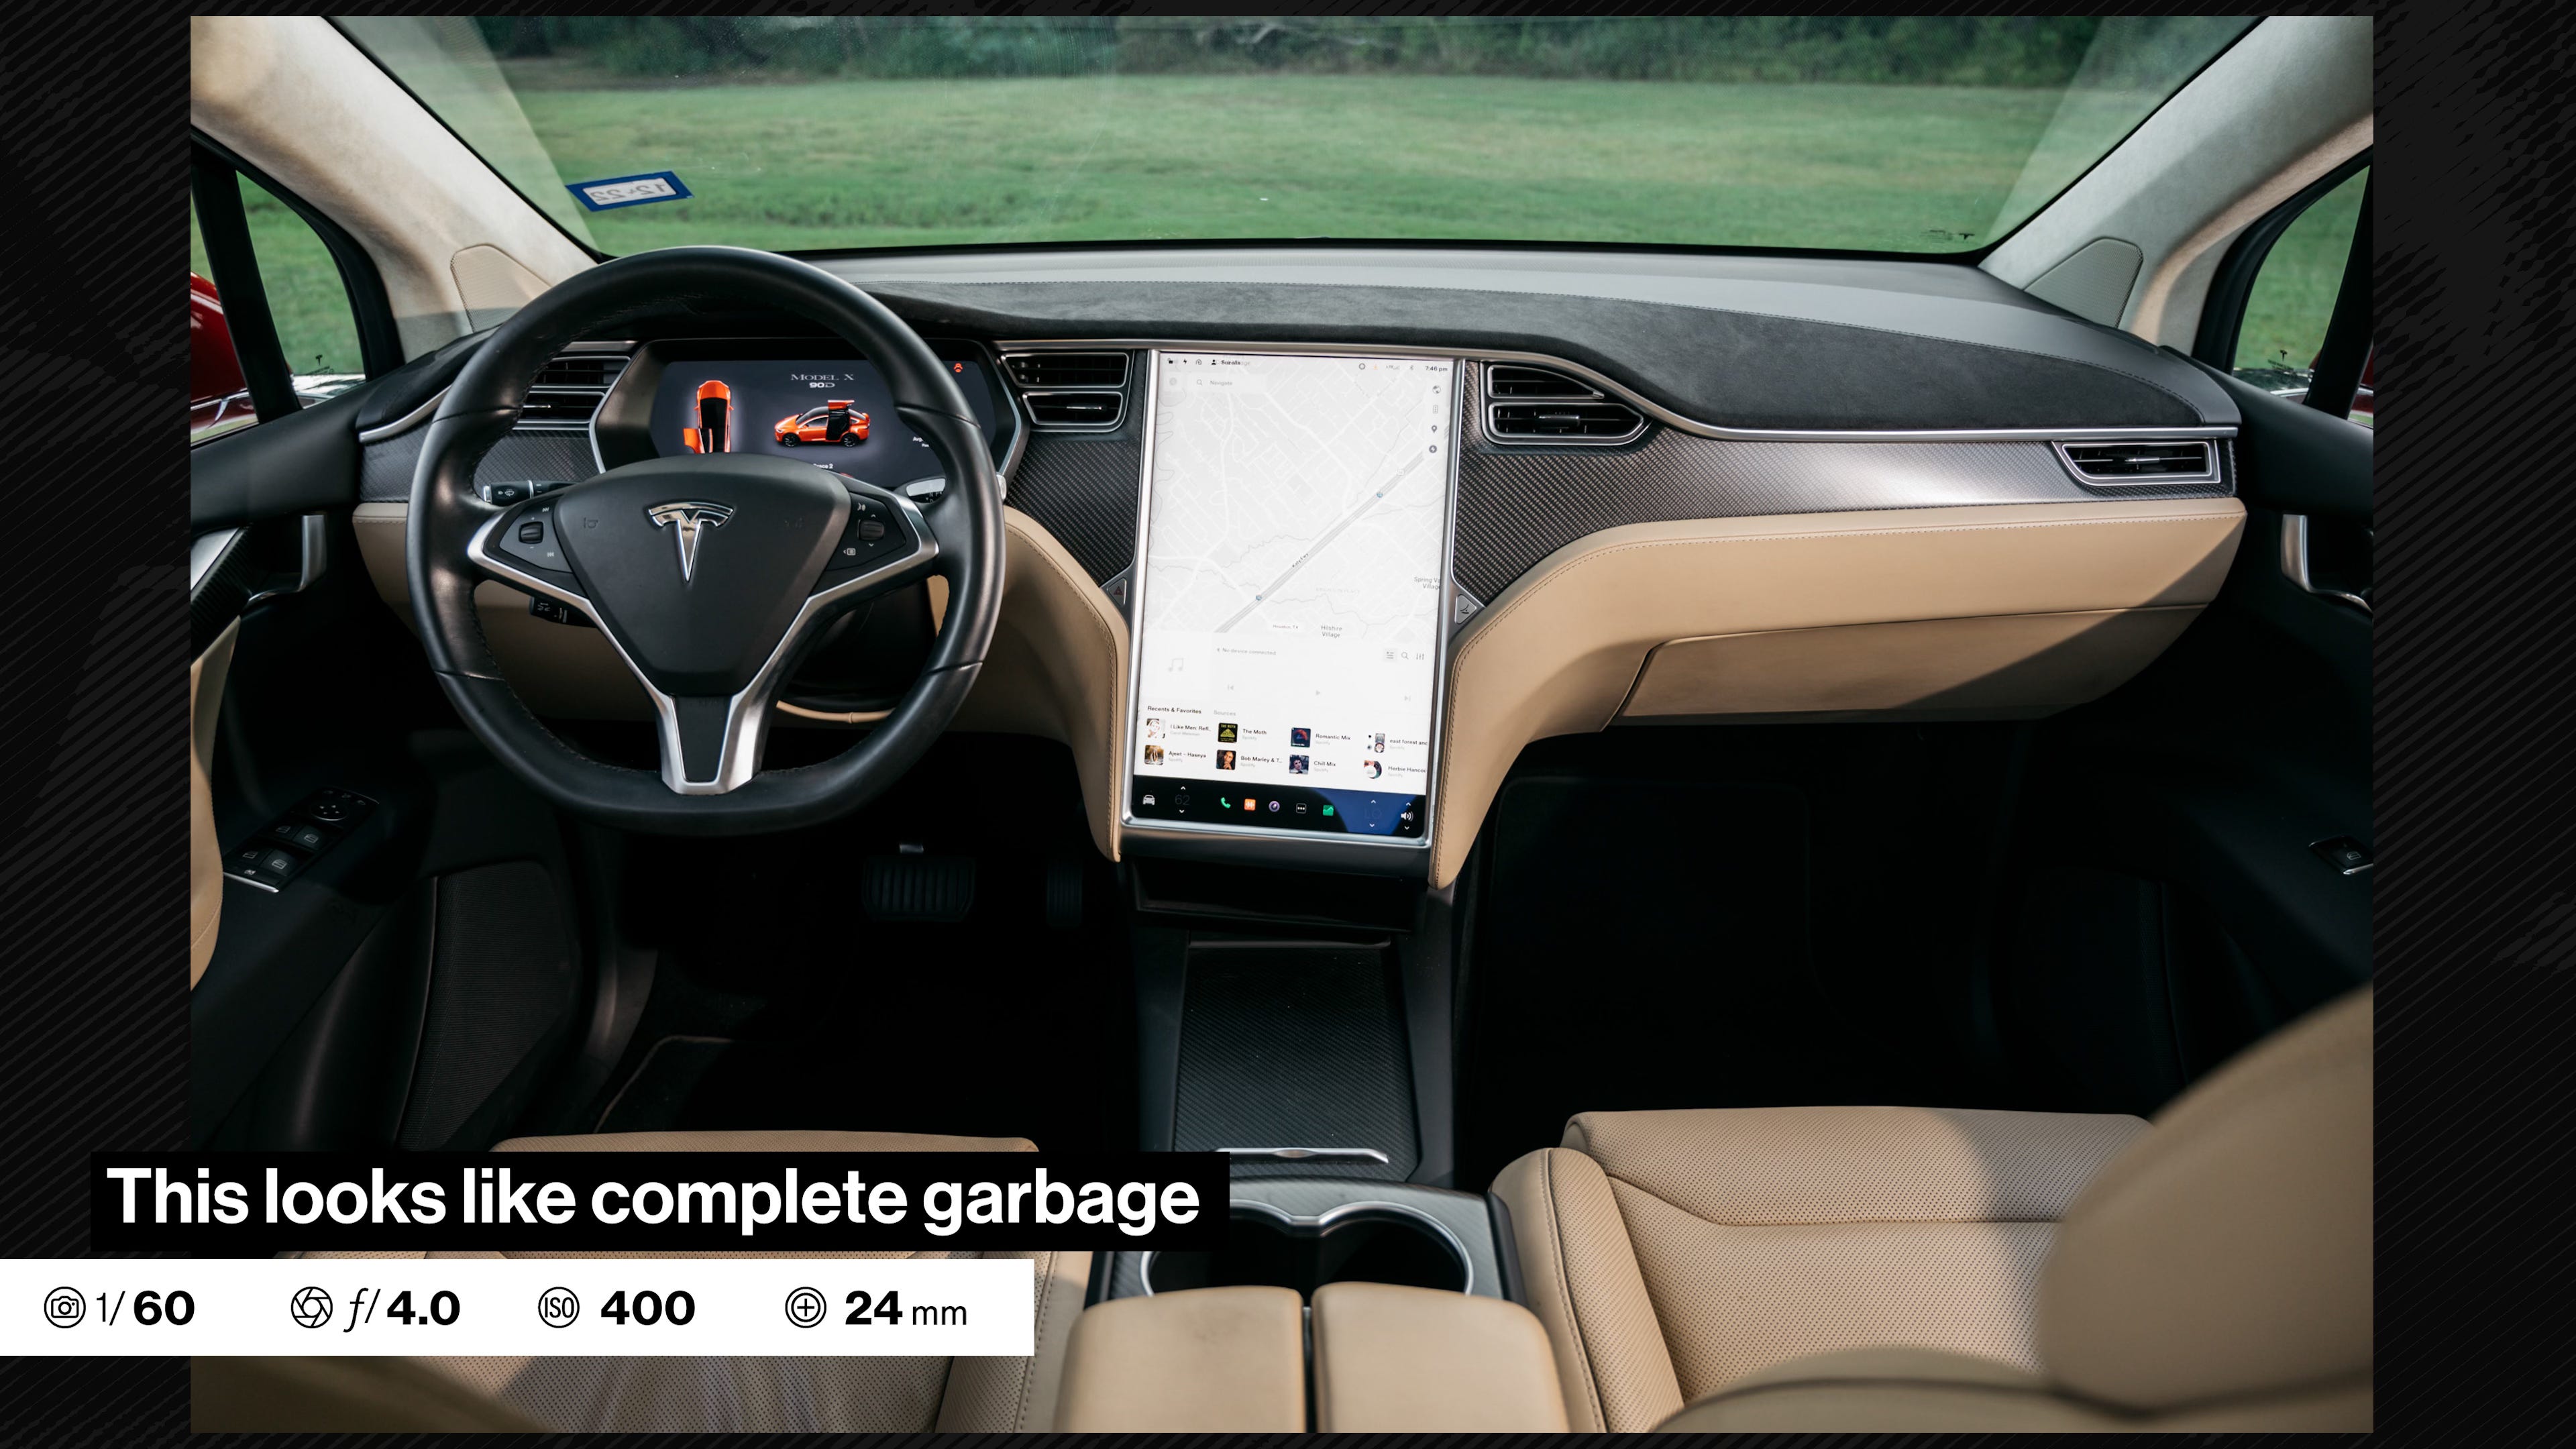
A light interior, like gray or tan, is naturally brighter and easier to shoot. Straight away, it will show up warmer, more defined, and with more visible details. There’s less contrast between the interior, and the view outside the car.


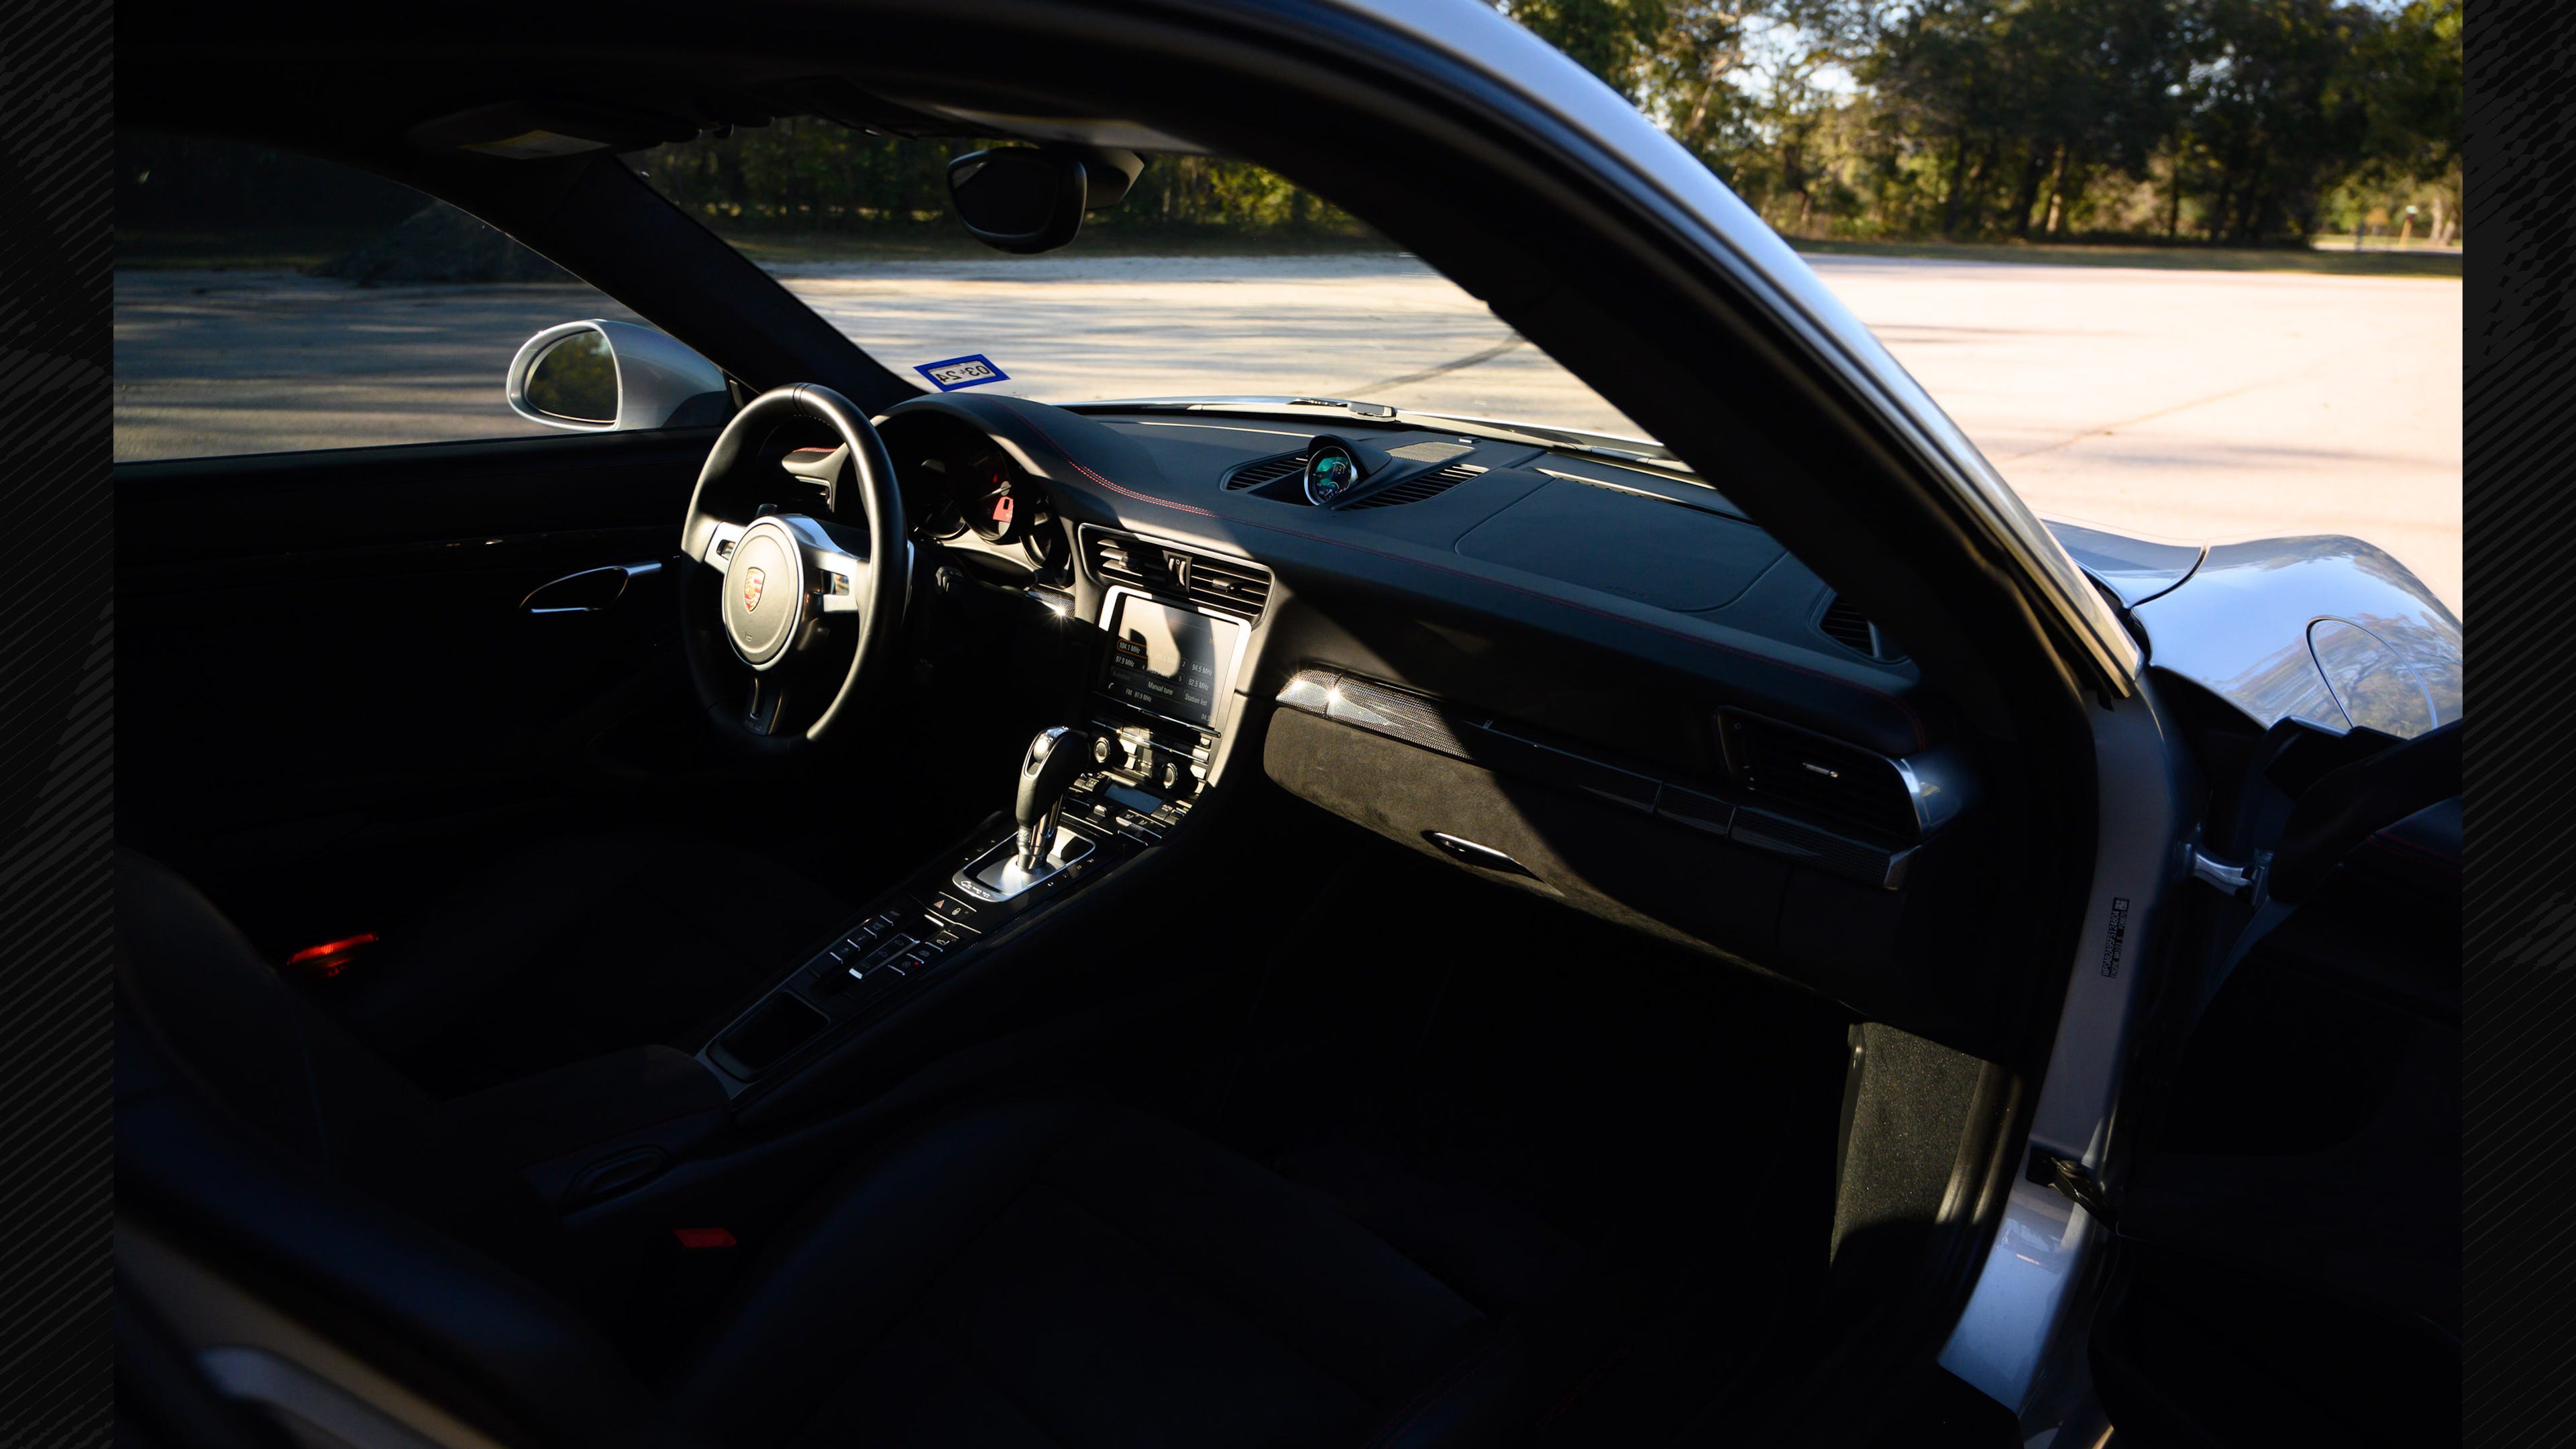
On the other hand, black is a very common interior color, and it is a bit more challenging.
Black can be shiny and have a glare on the seats and dashboard. We can fix this by using a circular polarizer to find a position that balances the light on these surfaces and reduces the contrast or glare. The goal is to flatten this out if we can.
One reason that photos of black interiors often look bad is because they’re too bright. If the camera sees everything in the frame as black, then it will compensate so that nothing is black. You’ll notice this especially when you’re shooting carpet and floor mats, the auto exposure will boost everything to gray, and the ground or doorjamb will be blown out.
If we’re trying to realistically capture an interior as it looks in person, its okay if some parts are lost in shadows, so it generally helps to use manual settings, or use exposure compensation to underexpose a couple stops, so that the blacks stay black, and your camera doesn’t try to make everything gray.
Number of doors
For a wide shot of the full dashboard and interior, you’ll notice that a two-door car, with its longer doors, offers more access and doesn’t have a B-pillar blocking your view of the seats. If the car has four doors, you can still shoot from either side of the car, but you’re closer to the dash and your view is limited.
So with a four door car, remember to take advantage of a back seat, and shoot pictures of the dash and steering wheel from the middle of the backseat.
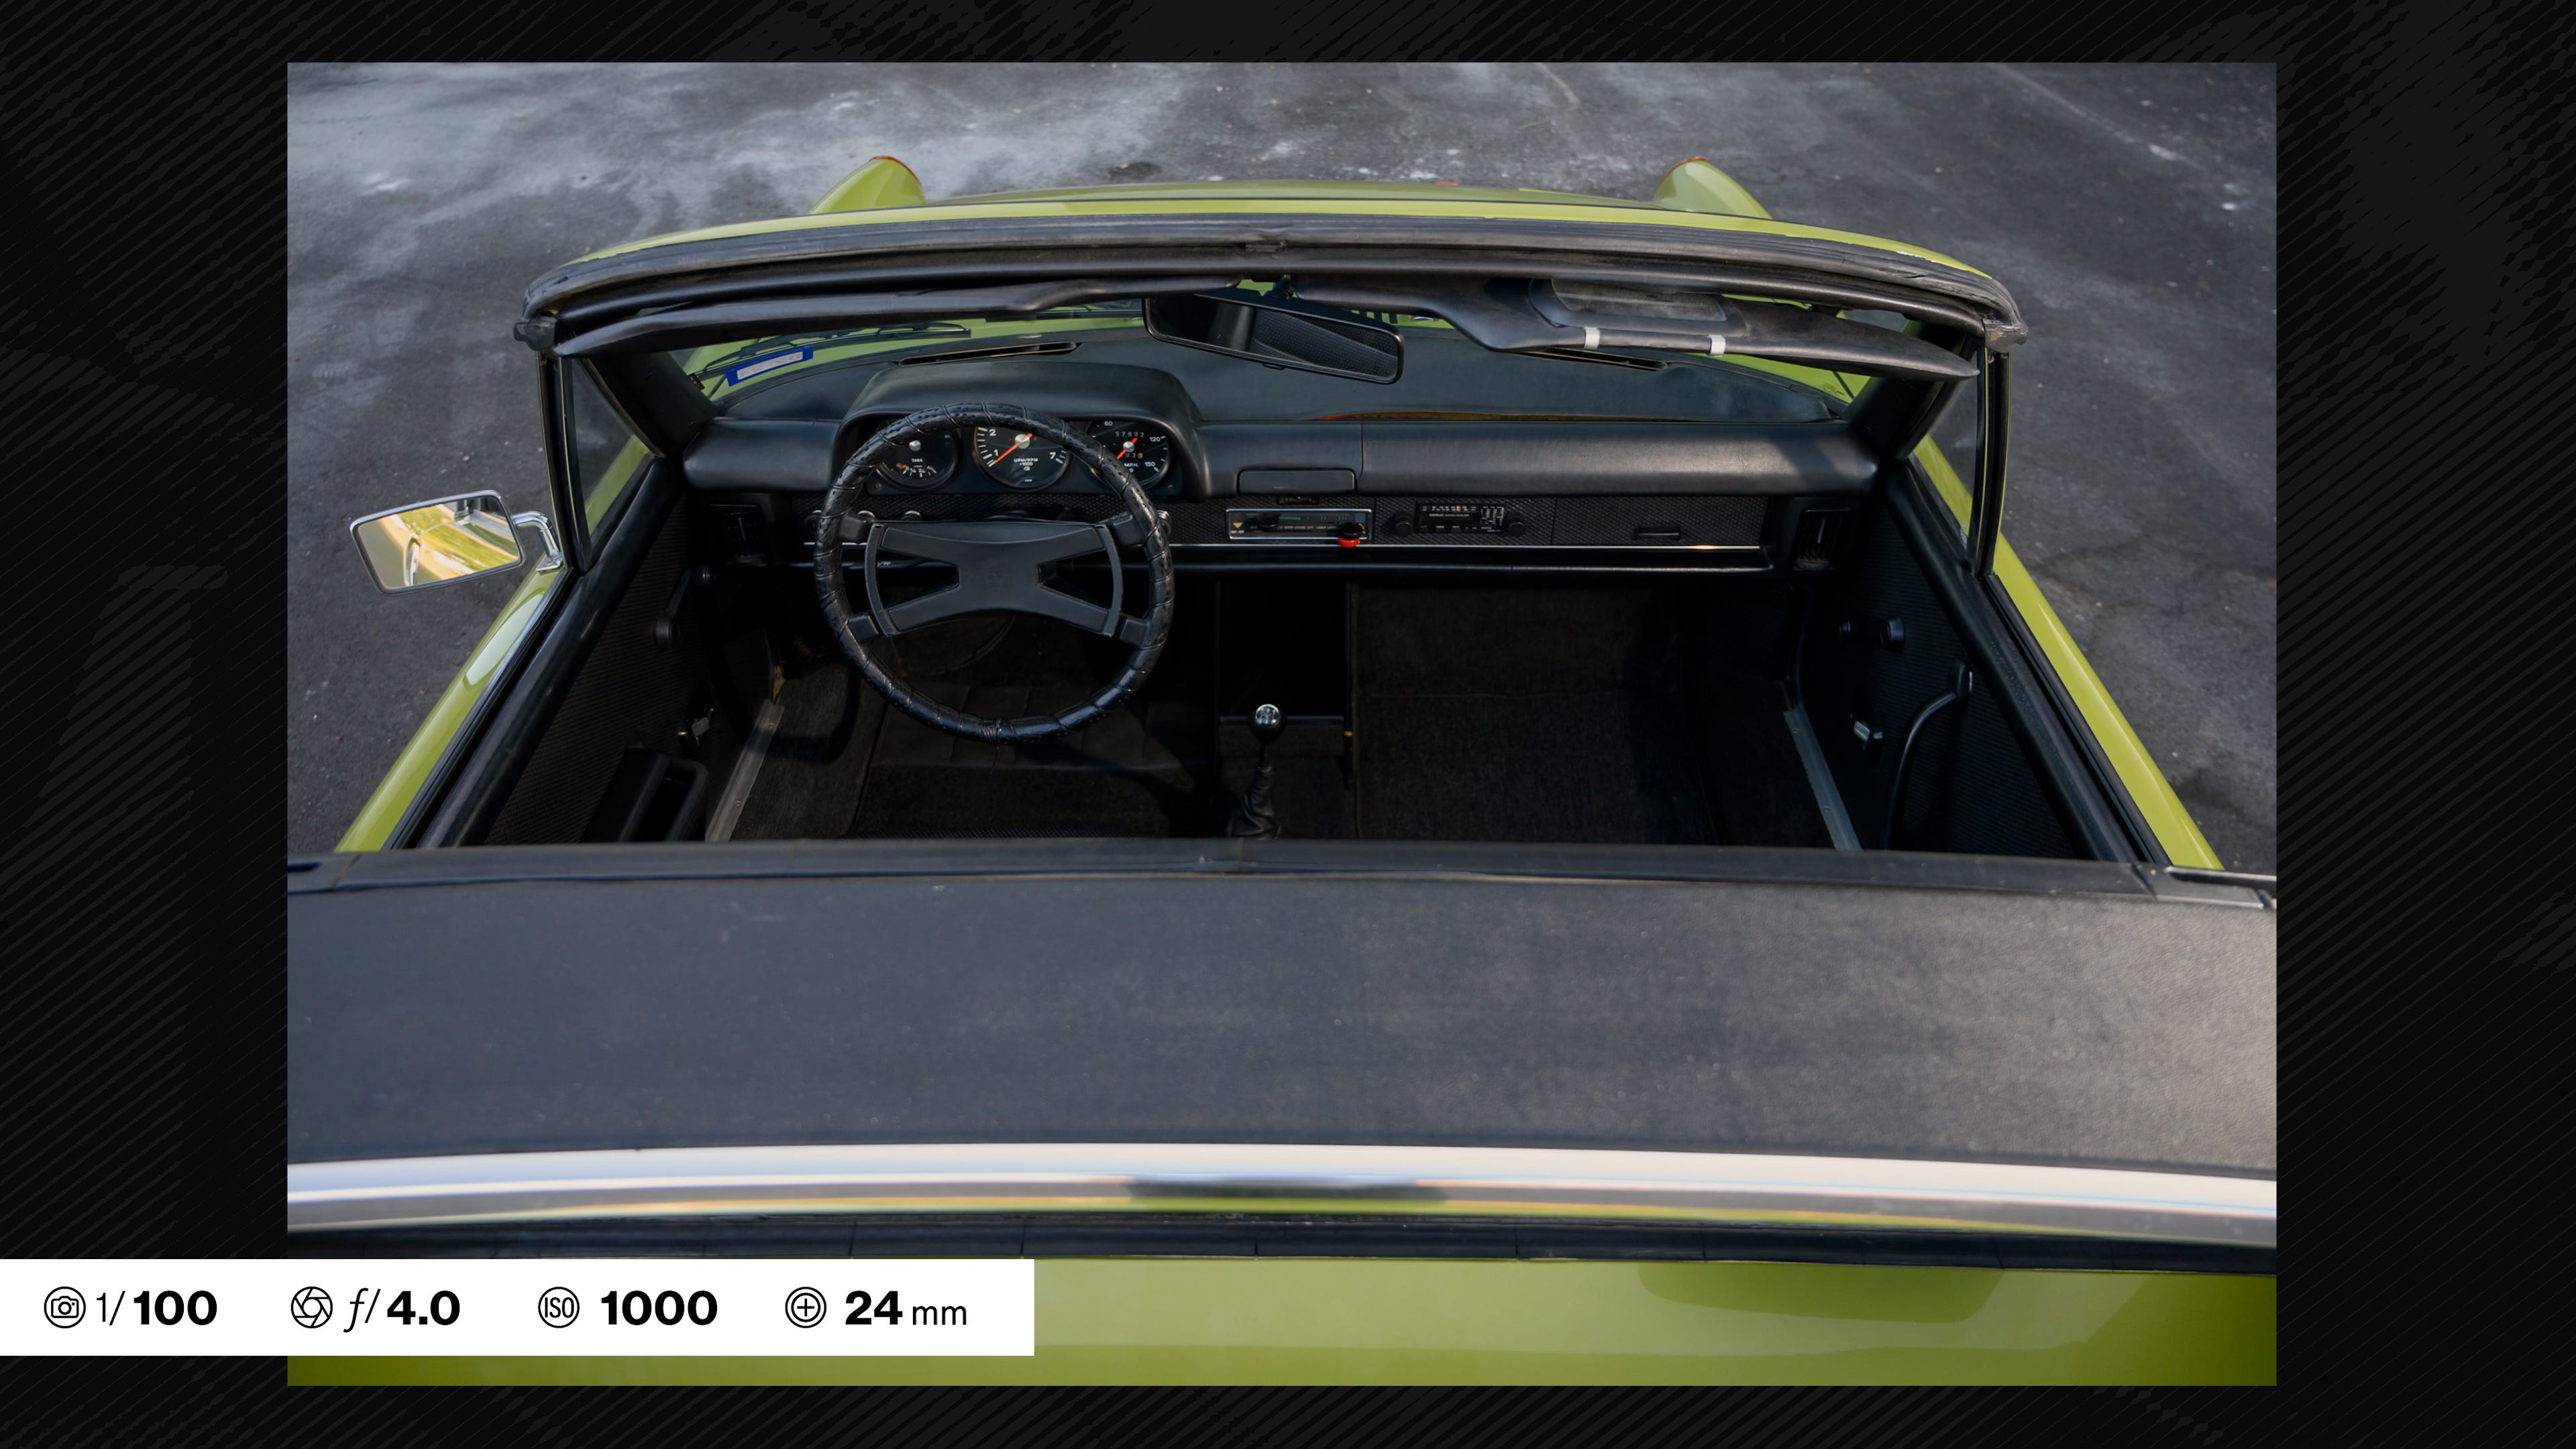
Convertible?
If it’s a convertible, you a put the top down and get nice, unobstructed perspectives from a bunch of angles around the car, and the lighting will usually be very even and forgiving. If you have long arms, you can get a central shot of the dashboard from behind the seats, even if the car doesn’t have a rear seat.
Screens
In an old car, you probably don’t need to have the car running for the interior photos once you’ve shot the gauge cluster.
But if the car has screens… you’ll need to have the car turned on for most of the interior photos where the screens are visible. To me it looks incomplete if the screens are off, and there’s an ugly void in the middle of the dash.
Unfortunately… infotainment screens are still pretty ugly when they’re on.
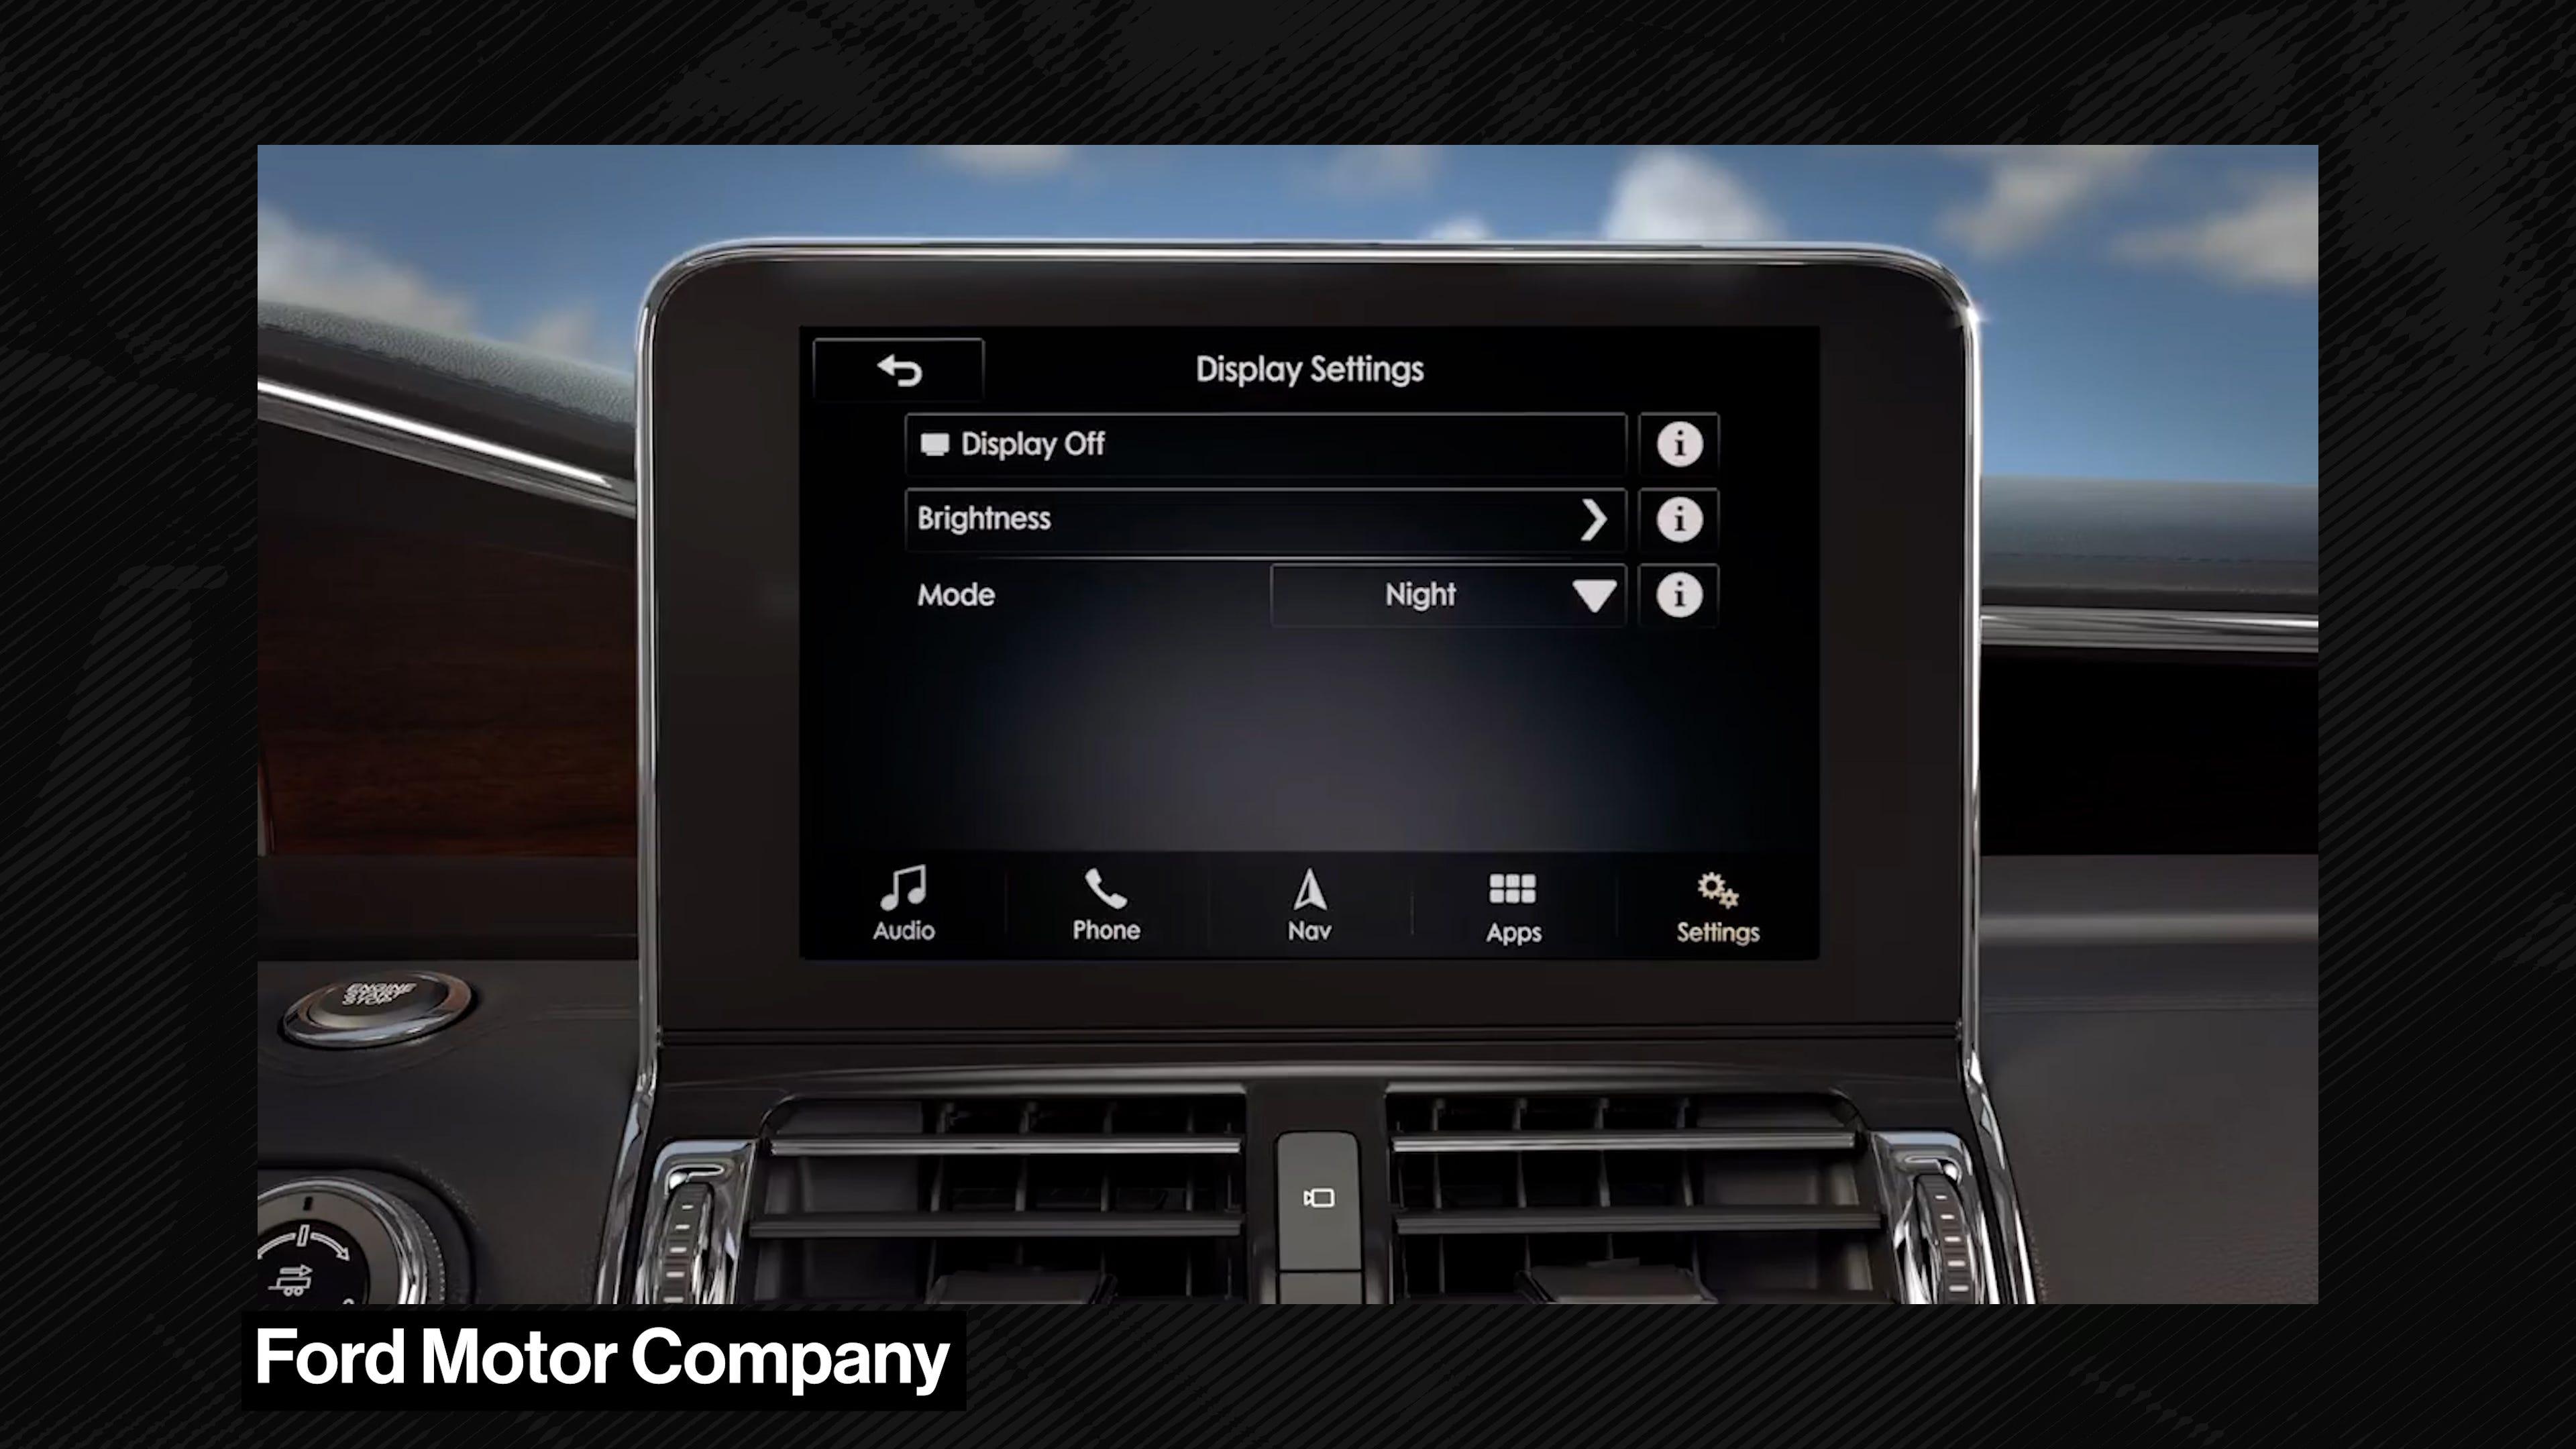
One thing I like to do to improve the aesthetic is to go in the vehicle settings, and try to find a night mode, if there’s an option, so the display is dark with white text, instead being a big white glowing white rectangle in the middle of the dashboard.
Alcantara
If it has Alcantara or suede-like seats, try to brush the material into one direction so the pile looks nice and uniform.
A few universal tips that apply for any car:
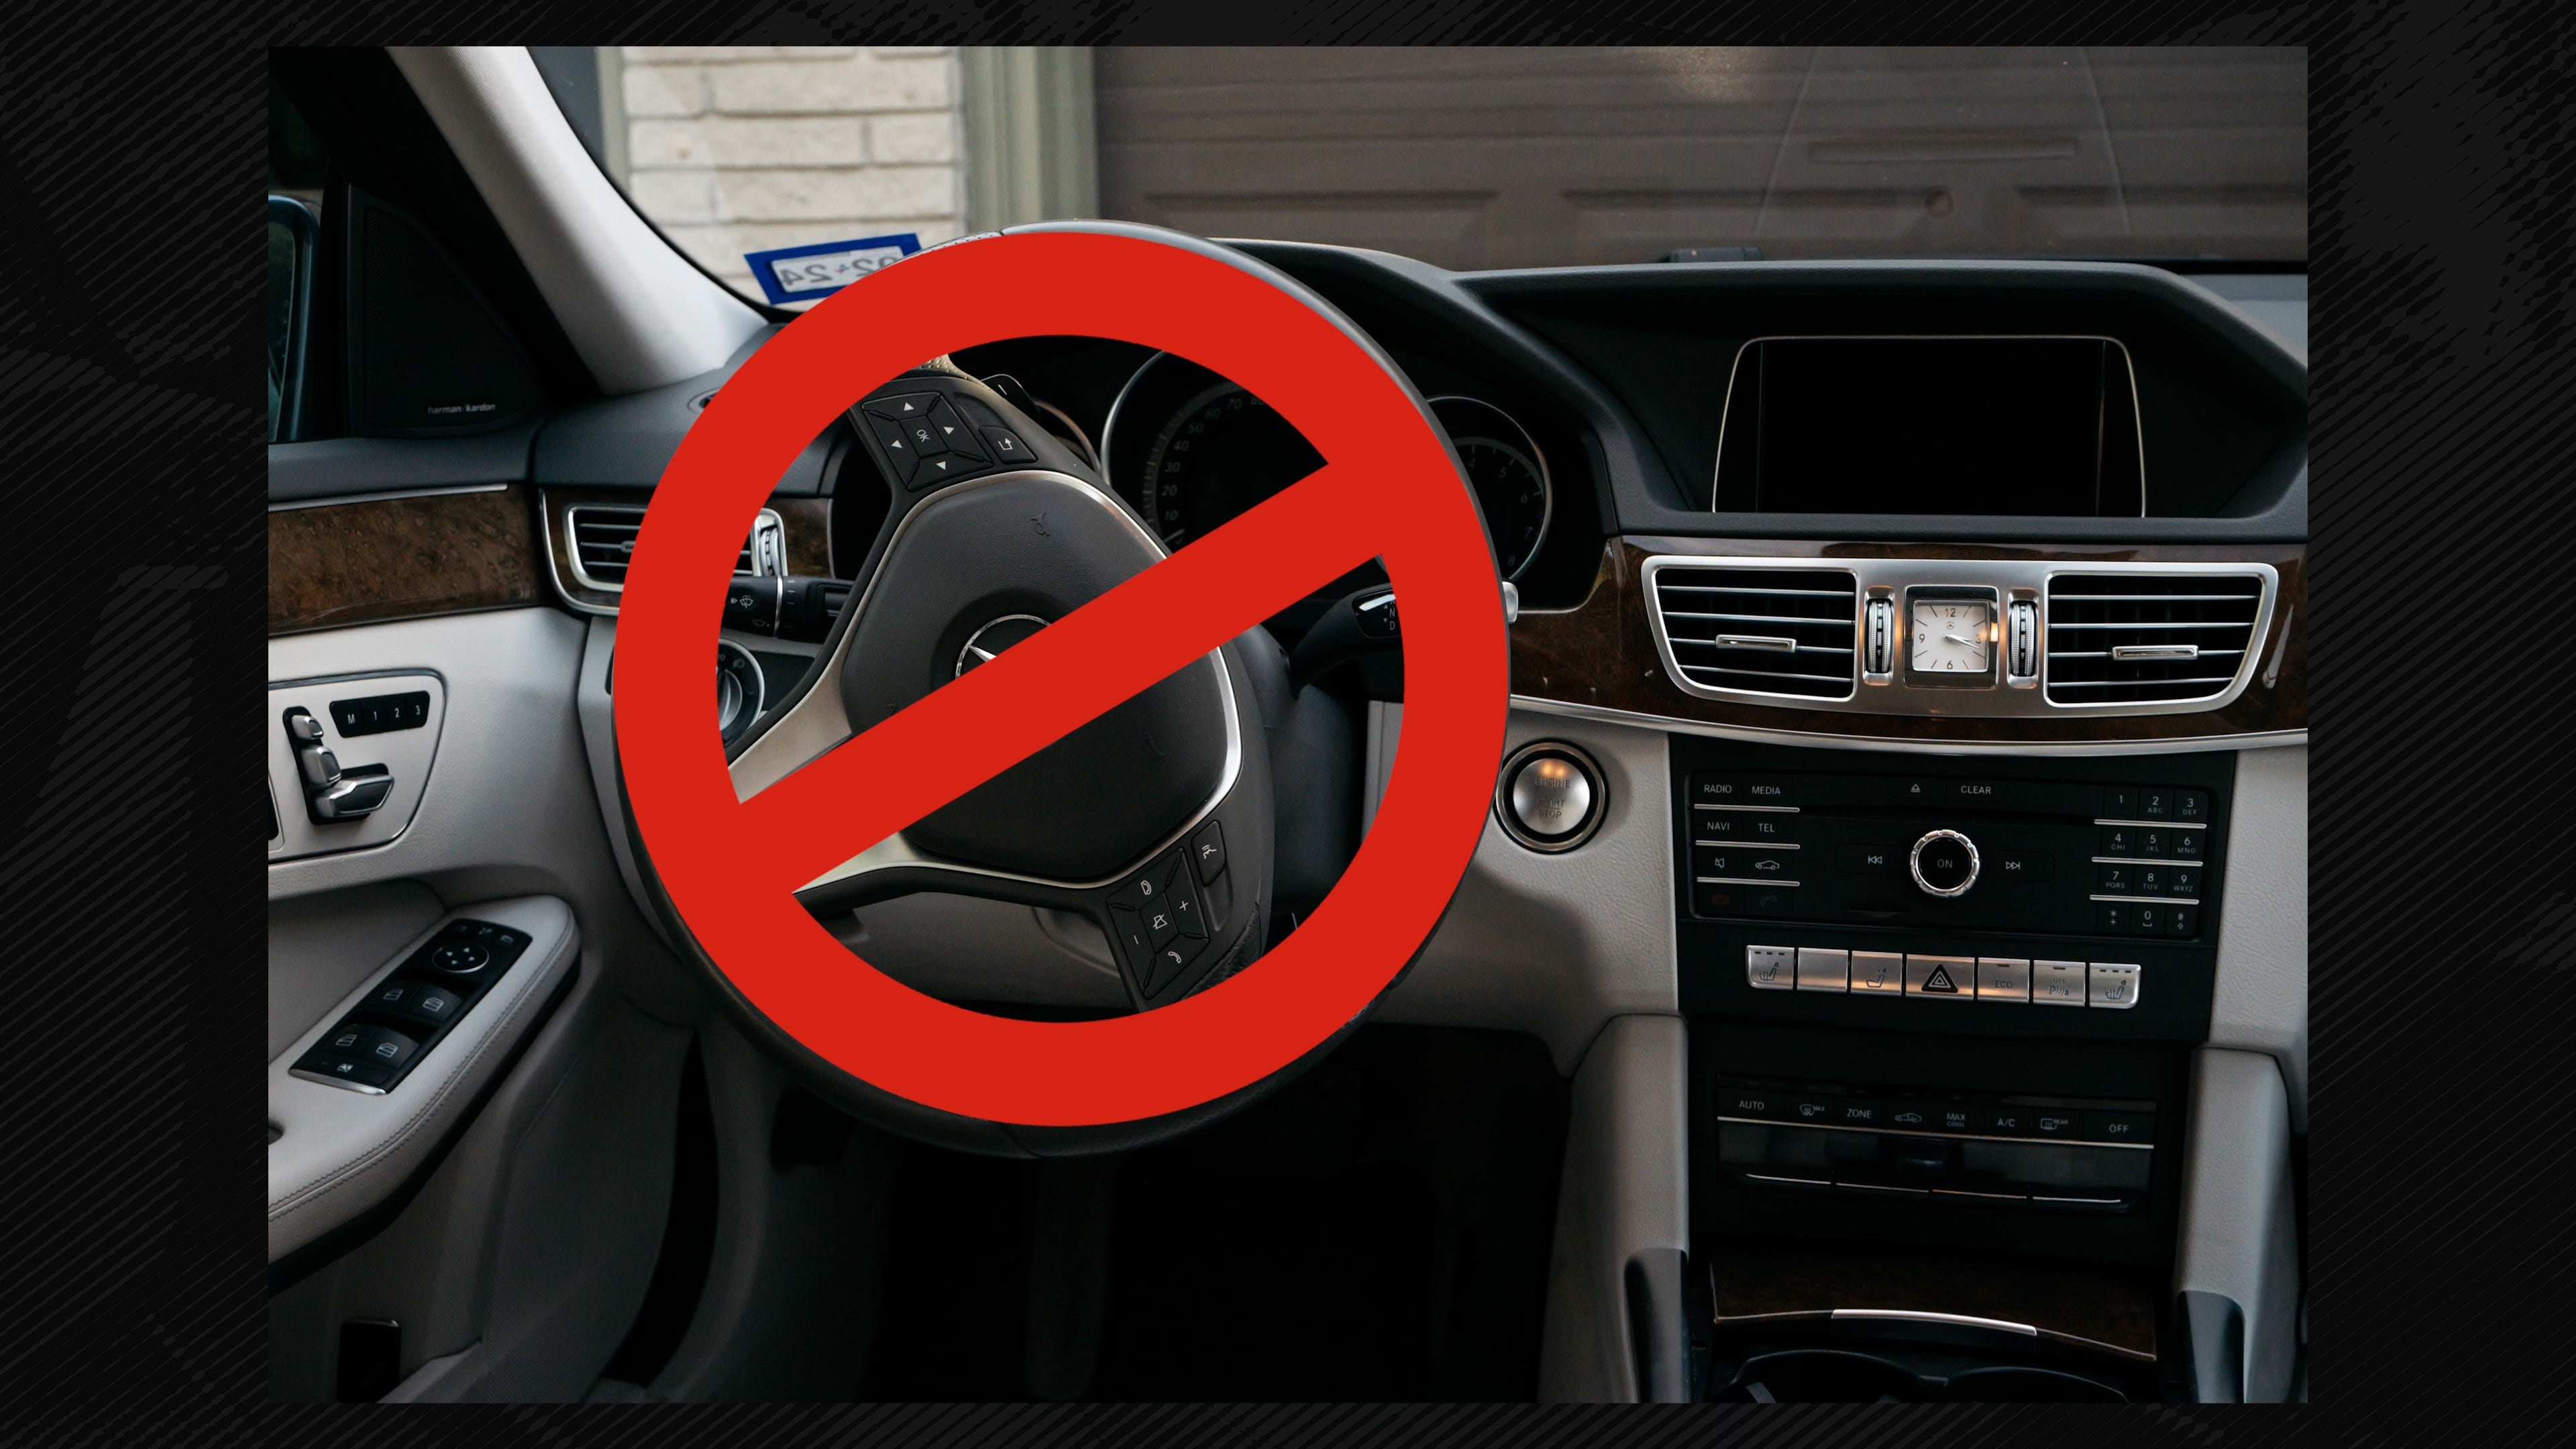
Keep the steering wheel straight.
The steering wheel should always be perfectly straight. It looks so jarring and amateur when you see the steering wheel turned 90 degrees in an interior photo, and it’s such an easy fix.
Windows
Roll down the windows, and always have the opposite door closed if you’re shooting on one side of the car. So if I’m shooting the driver’s seat from the driver’s side, have the passenger side door closed, I think it just looks better.
Watch for dust
Before you take out your camera, that’s a good time to look at the dash and do final wipe down for any dust that may have accumulated anywhere or gotten stuck on the dash.
Camera Settings & Lens
Finally it’s time to look at your camera settings.
Your camera has primary exposure parameters: Shutter Speed, Aperture and ISO.
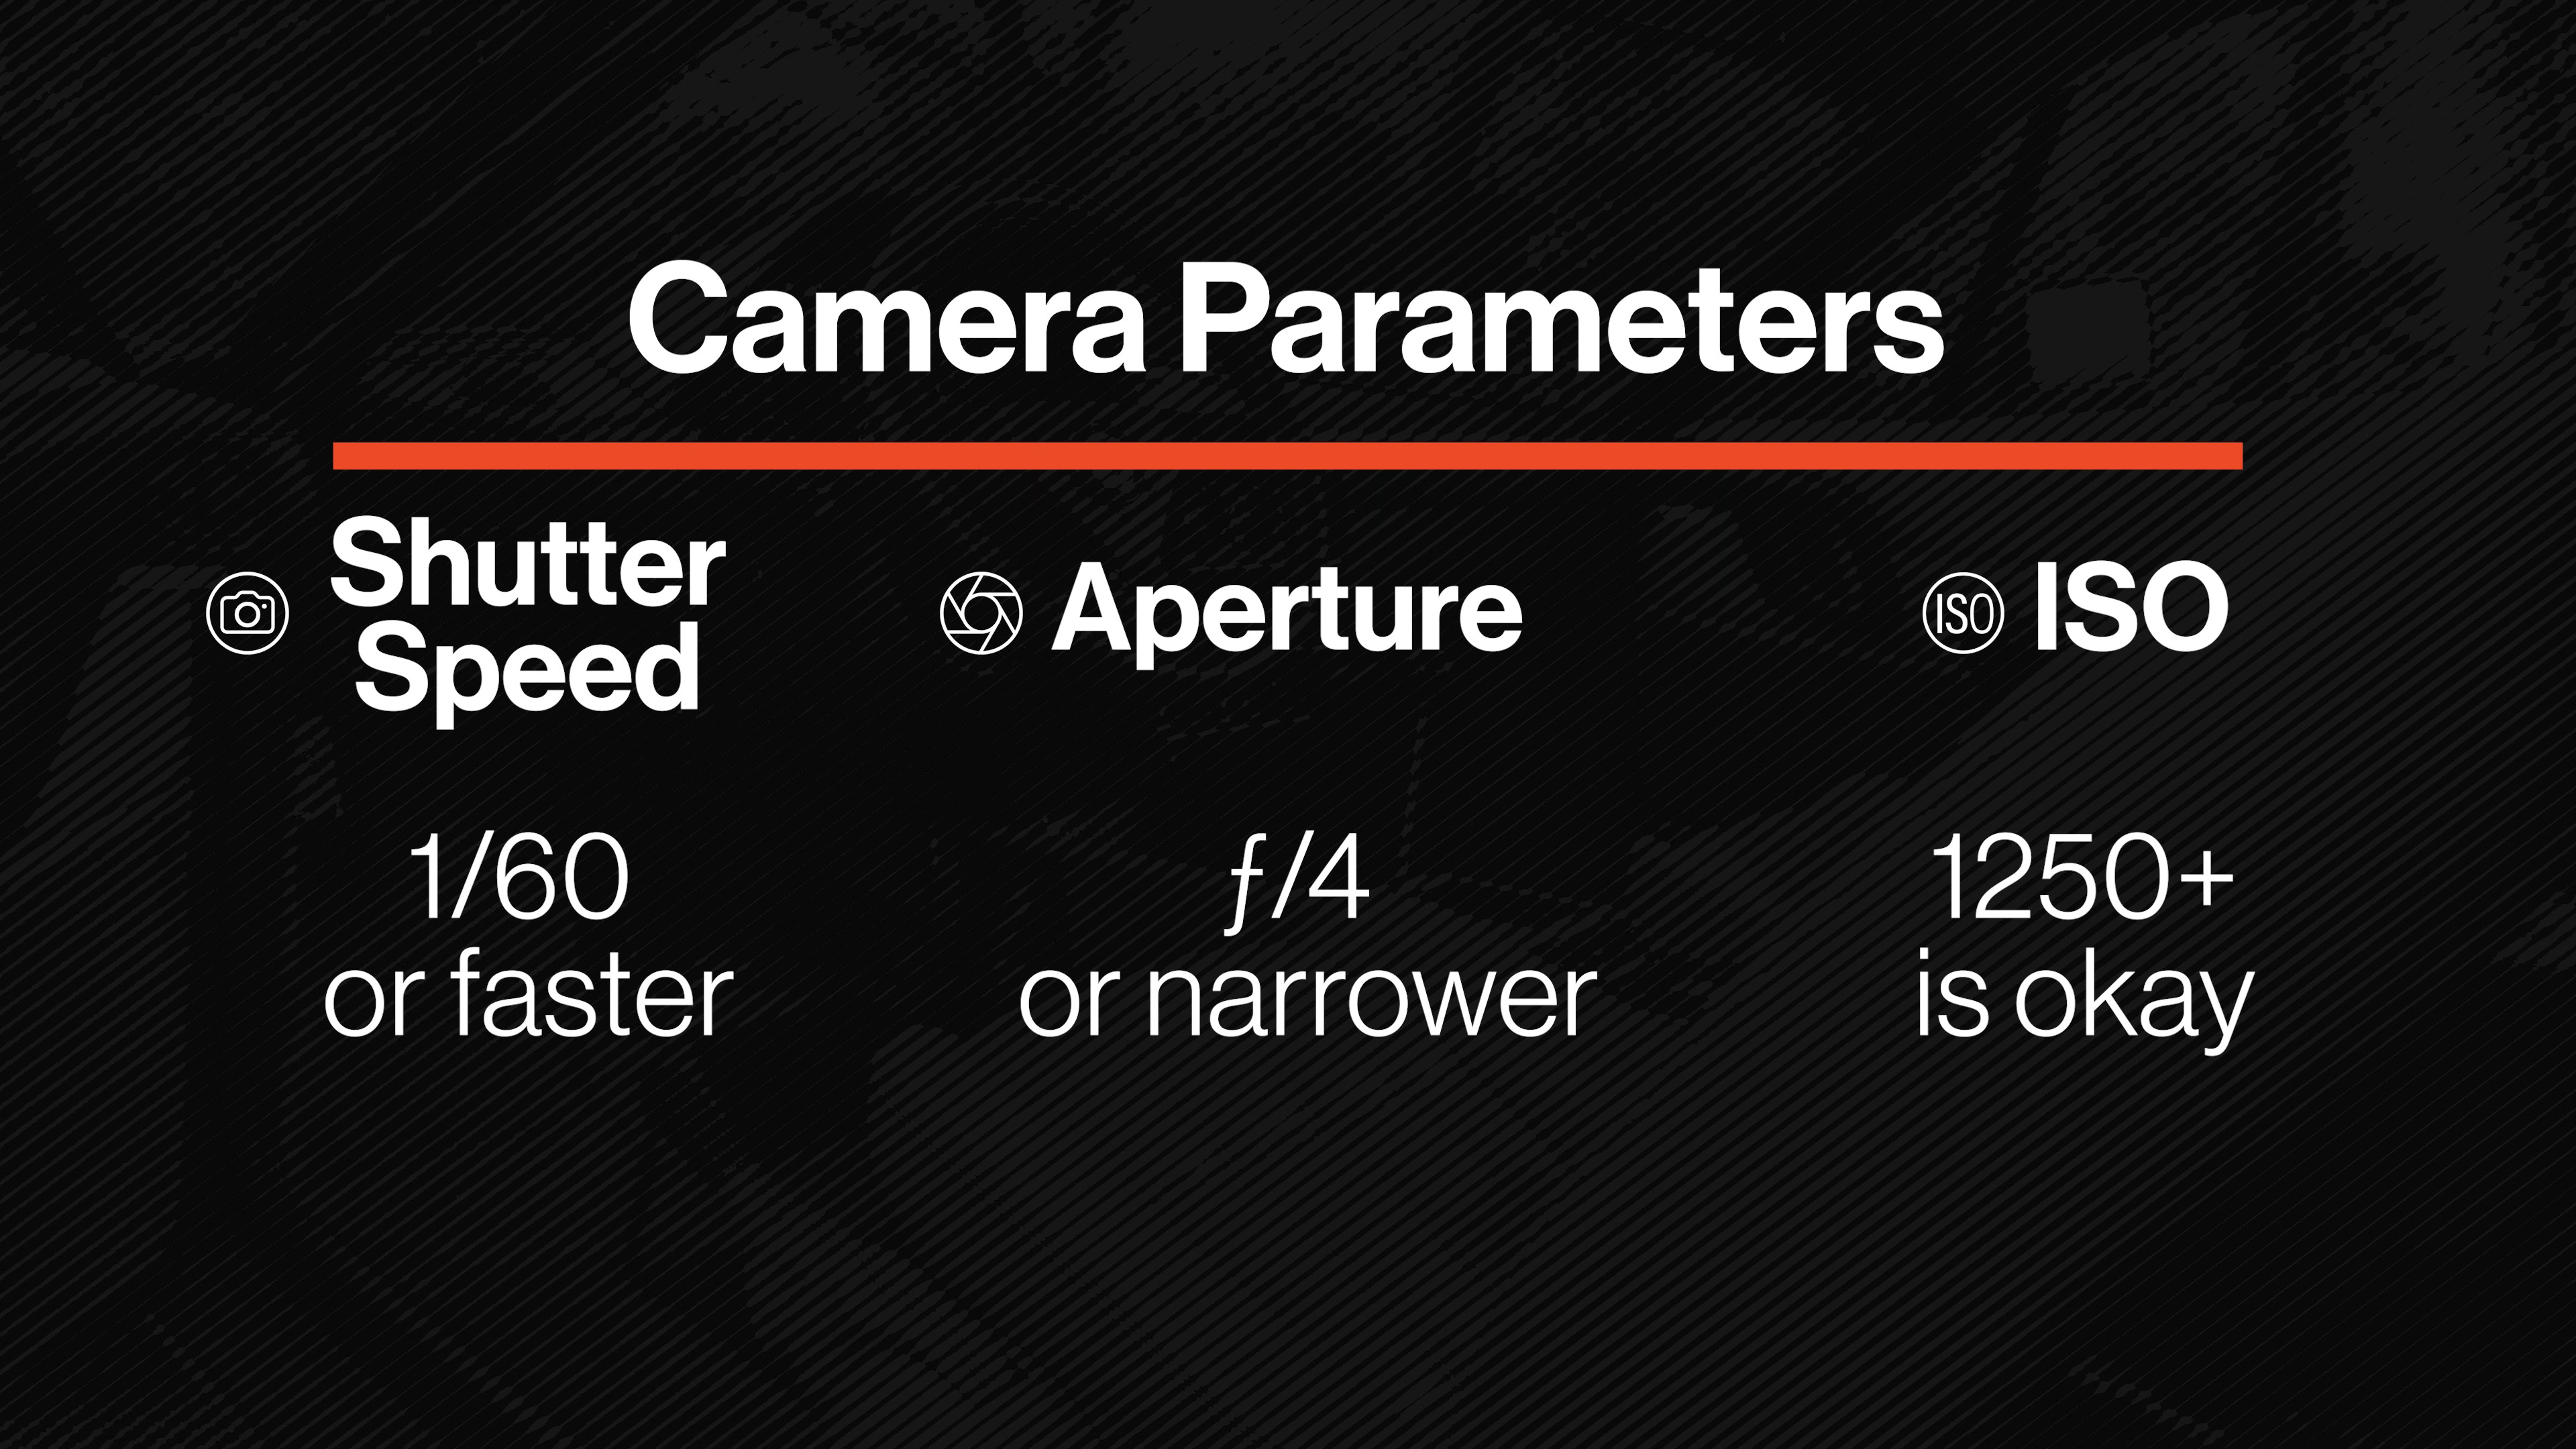
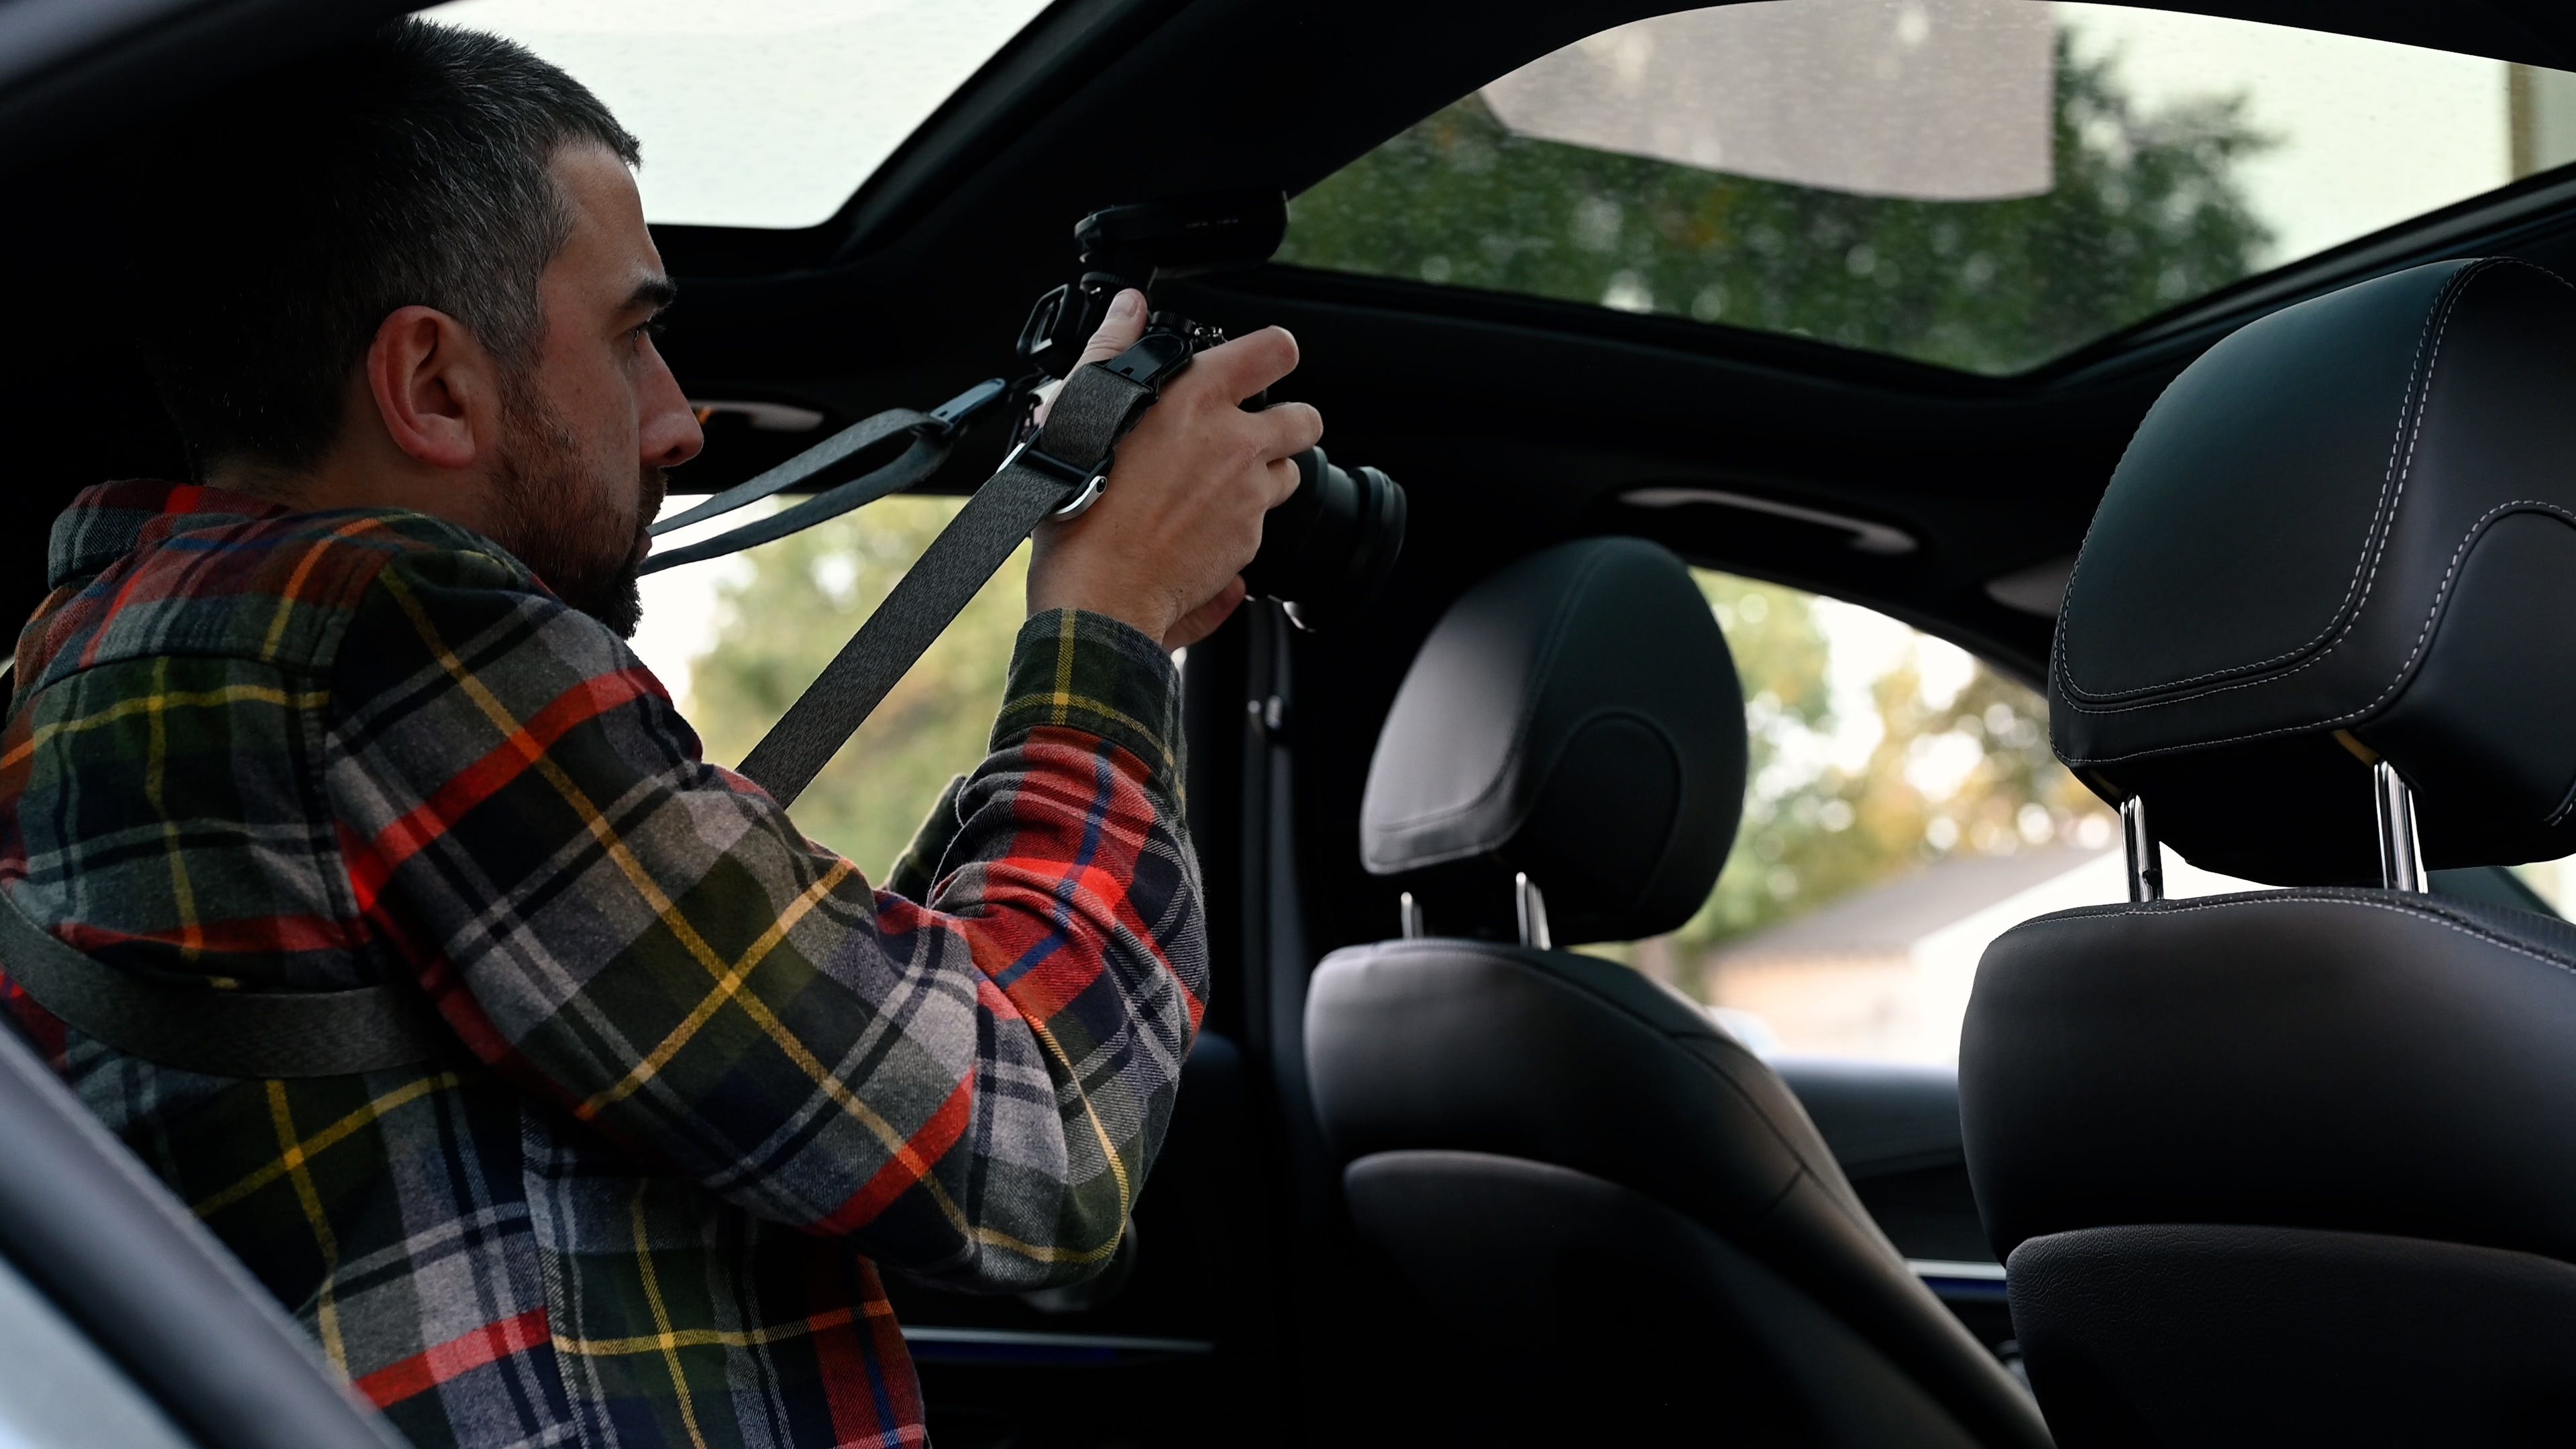
For shutter speed, it’s a general rule that you can shoot 1/60th or faster handheld pretty comfortably without camera shake, so we want to stay at least at that speed.
You don’t have time to use a tripod for every shot, plus that would limit your possible perspectives to where you can place the tripod.
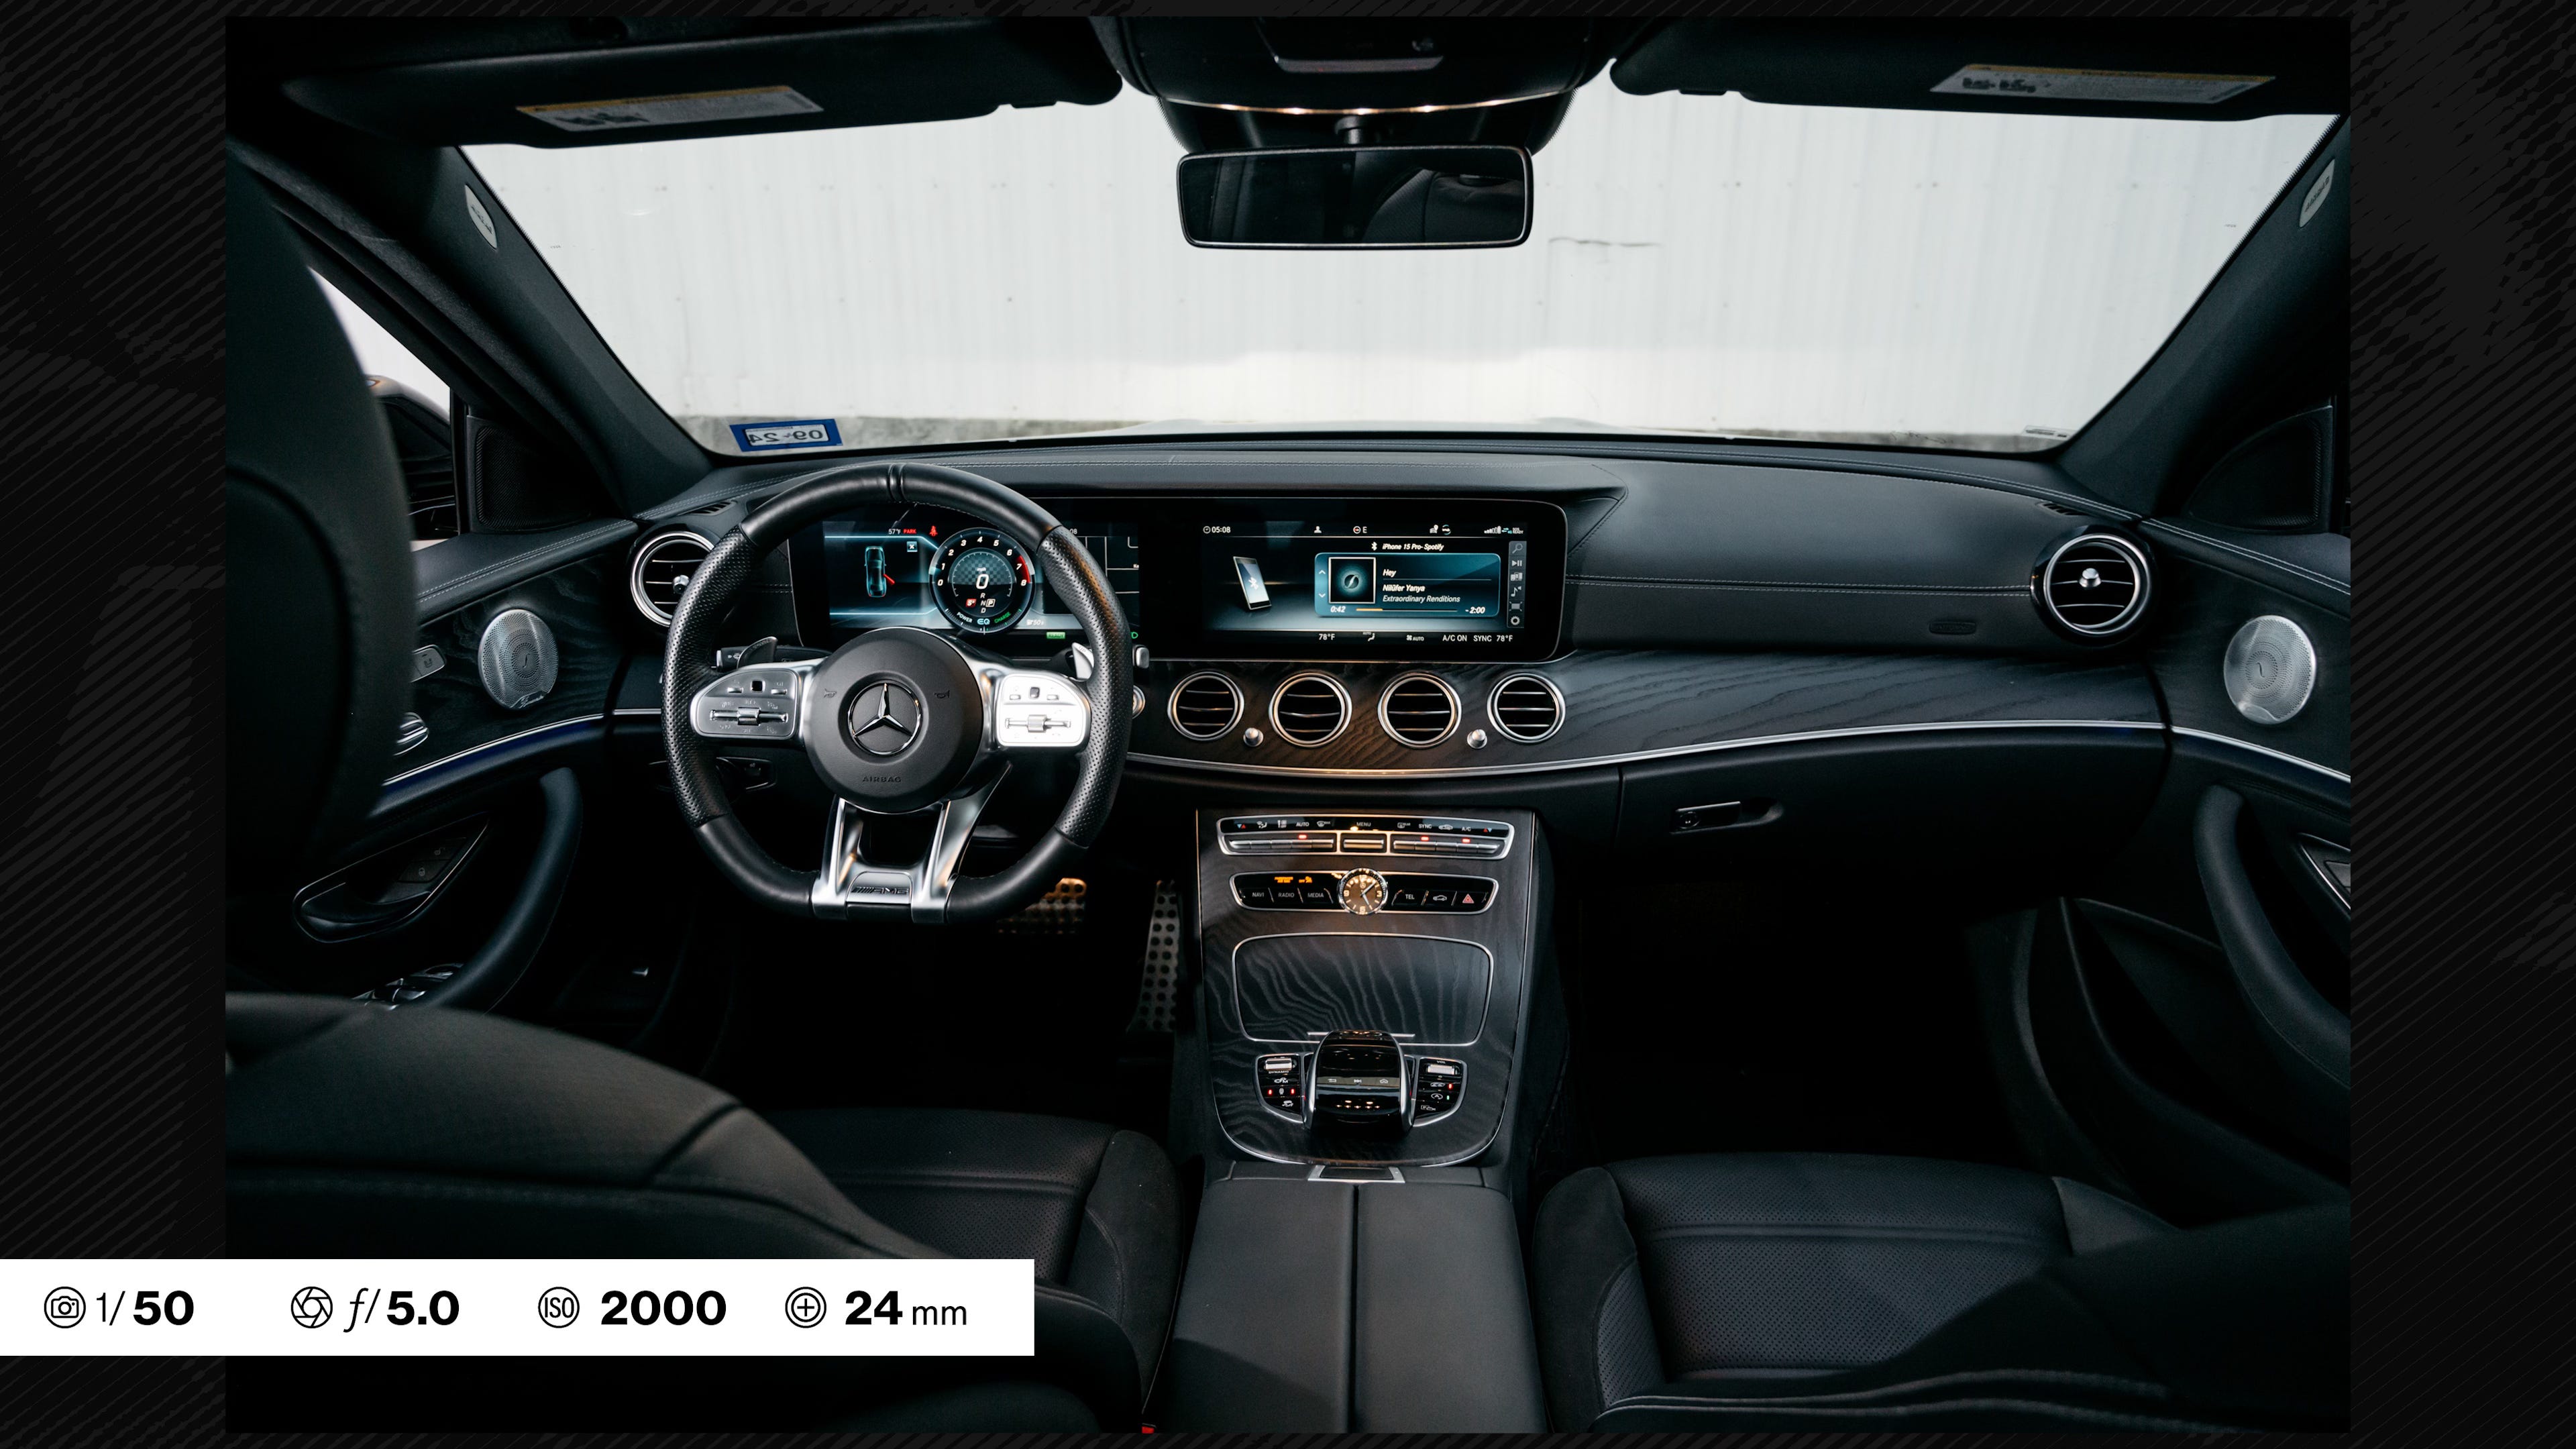
For your aperture, there’s usually no benefit to shooting an interior at f/2.8 or 1.8. We want most of the interior to be sharp, because ultimately we are documenting what’s there. I usually shoot at f/4 or f/5, so that a lot of what’s in the frame is in focus.
We could shoot everything at f/11 for more sharpness, but everything with photography is a balance, and we would have to drastically compromise our shutter speed or ISO for that, and I don’t think that tradeoff is worth it.
That brings us to the last setting, ISO: don’t fear high ISO.
Interiors are usually already dark, it’s late in the day, and we’re in the shade. You may have to raise the ISO a lot, and that’s fine. With most cameras made in the last decade, images usually look fine at ISO two or three thousand. I’ve shot interiors indoors and cranked up the ISO past 4000 and it was fine. Technology has improved, and the flexibility it gives you with your aperture and shutter speed for handheld photos is amazing.

Let’s talk about lenses.
You probably are best off with a lens in the neighborhood of 24mm, or even 20 mm. If it’s a longer lens like 35 or 50, you won’t be able to fit everything in, and if it’s too wide, you’ll be dealing with some obvious distortion.
For details, go nuts, go use a long lens or whatever you want. But to get the full shot of the interior, or to get a modern bucket seat in the frame, you need a wider lens such as 20 or 24mm.
You’ll also want to have a circular polarizer on that lens, like I mentioned earlier, to minimize glare and contrast on the interior surfaces. A CPL is a useful tool for modifying the appearance of the light before it hits your camera sensor — I have video all about CPL filters at the link above.
Shooting
Now we have the location sorted, the car is configured, and your camera and lens is ready to go. Let’s actually take some photos.
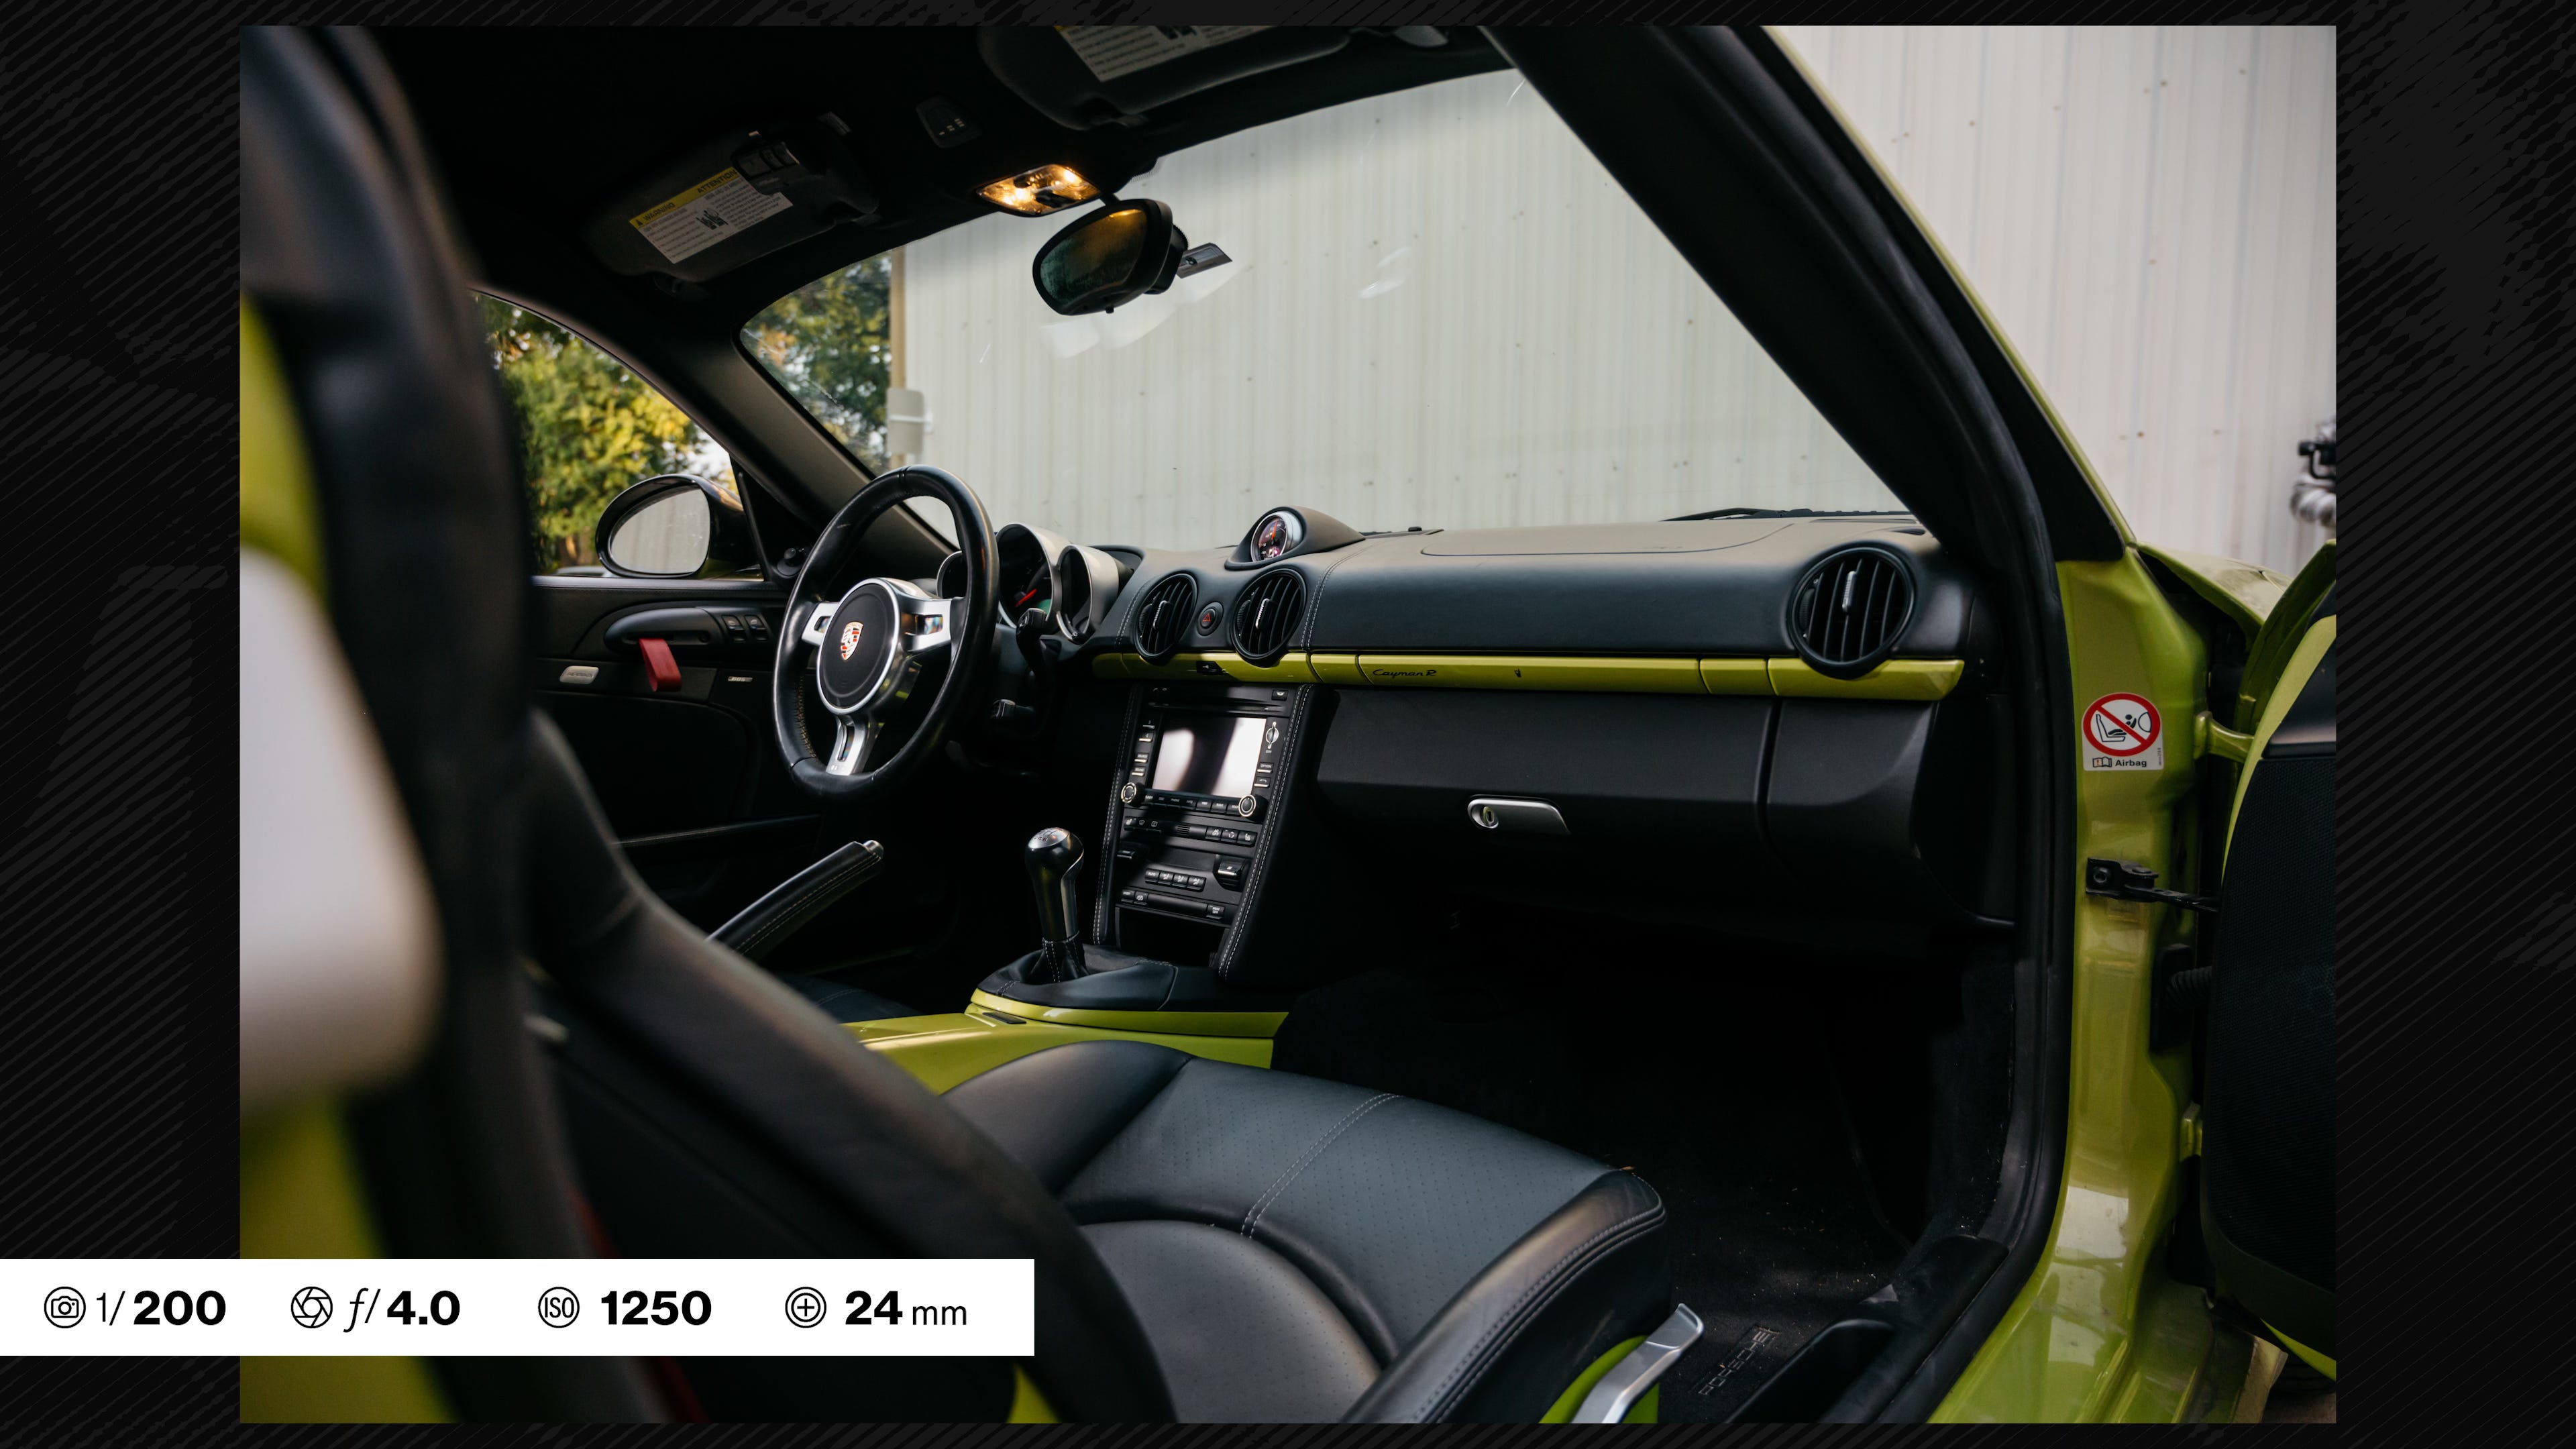
Steering wheel should always be in focus
When you’re shooting a wide interior shot, make sure the steering wheel is in focus. It’s the focal point of the interior, so even if you’re shooting from the passenger side, the center of the steering wheel should be sharp. Sometimes certain textures and finishes will really trip up your auto focus, so really make sure you have a sharp one, even if it means you take a dozen of the same shot
The most important shots
For a lot of my examples, I’ve shown these wide interior hero shots, and as a photographer, that’s the most satisfying shot, to be able to make that look good.
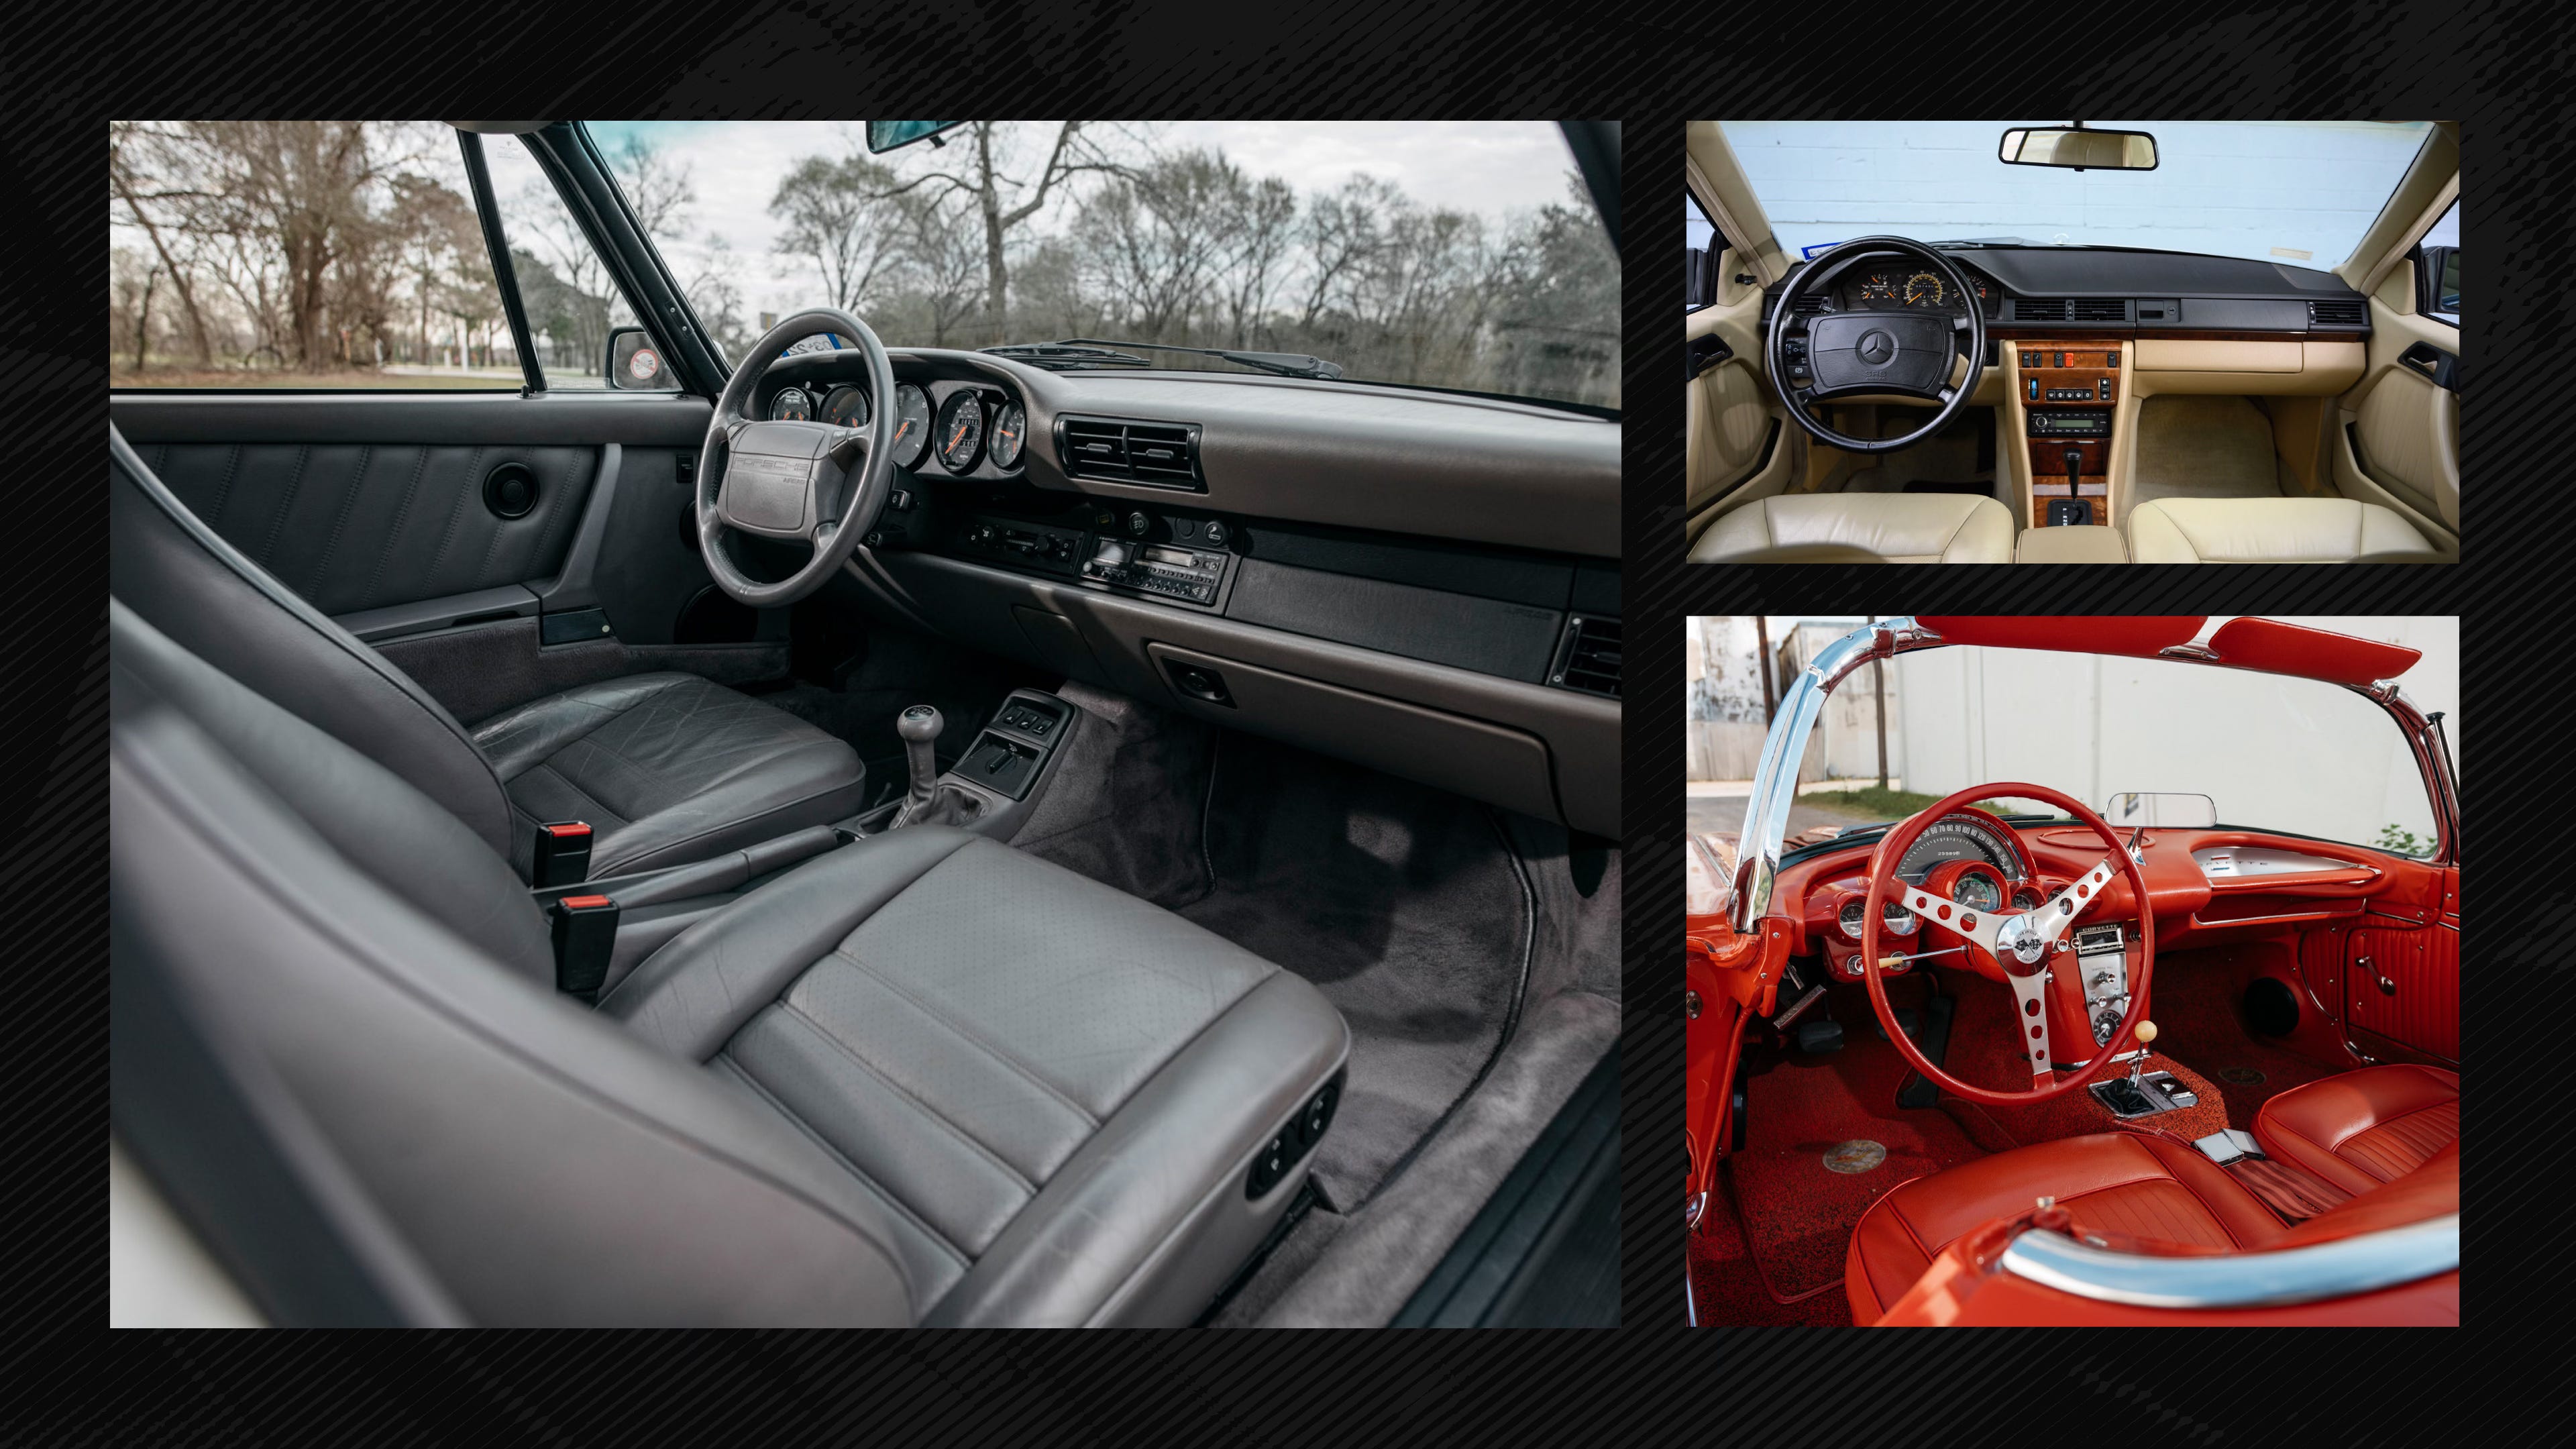
But for the people who buy and sell cars based on photos, that’s not the most important shot. The most important shots …are the seats
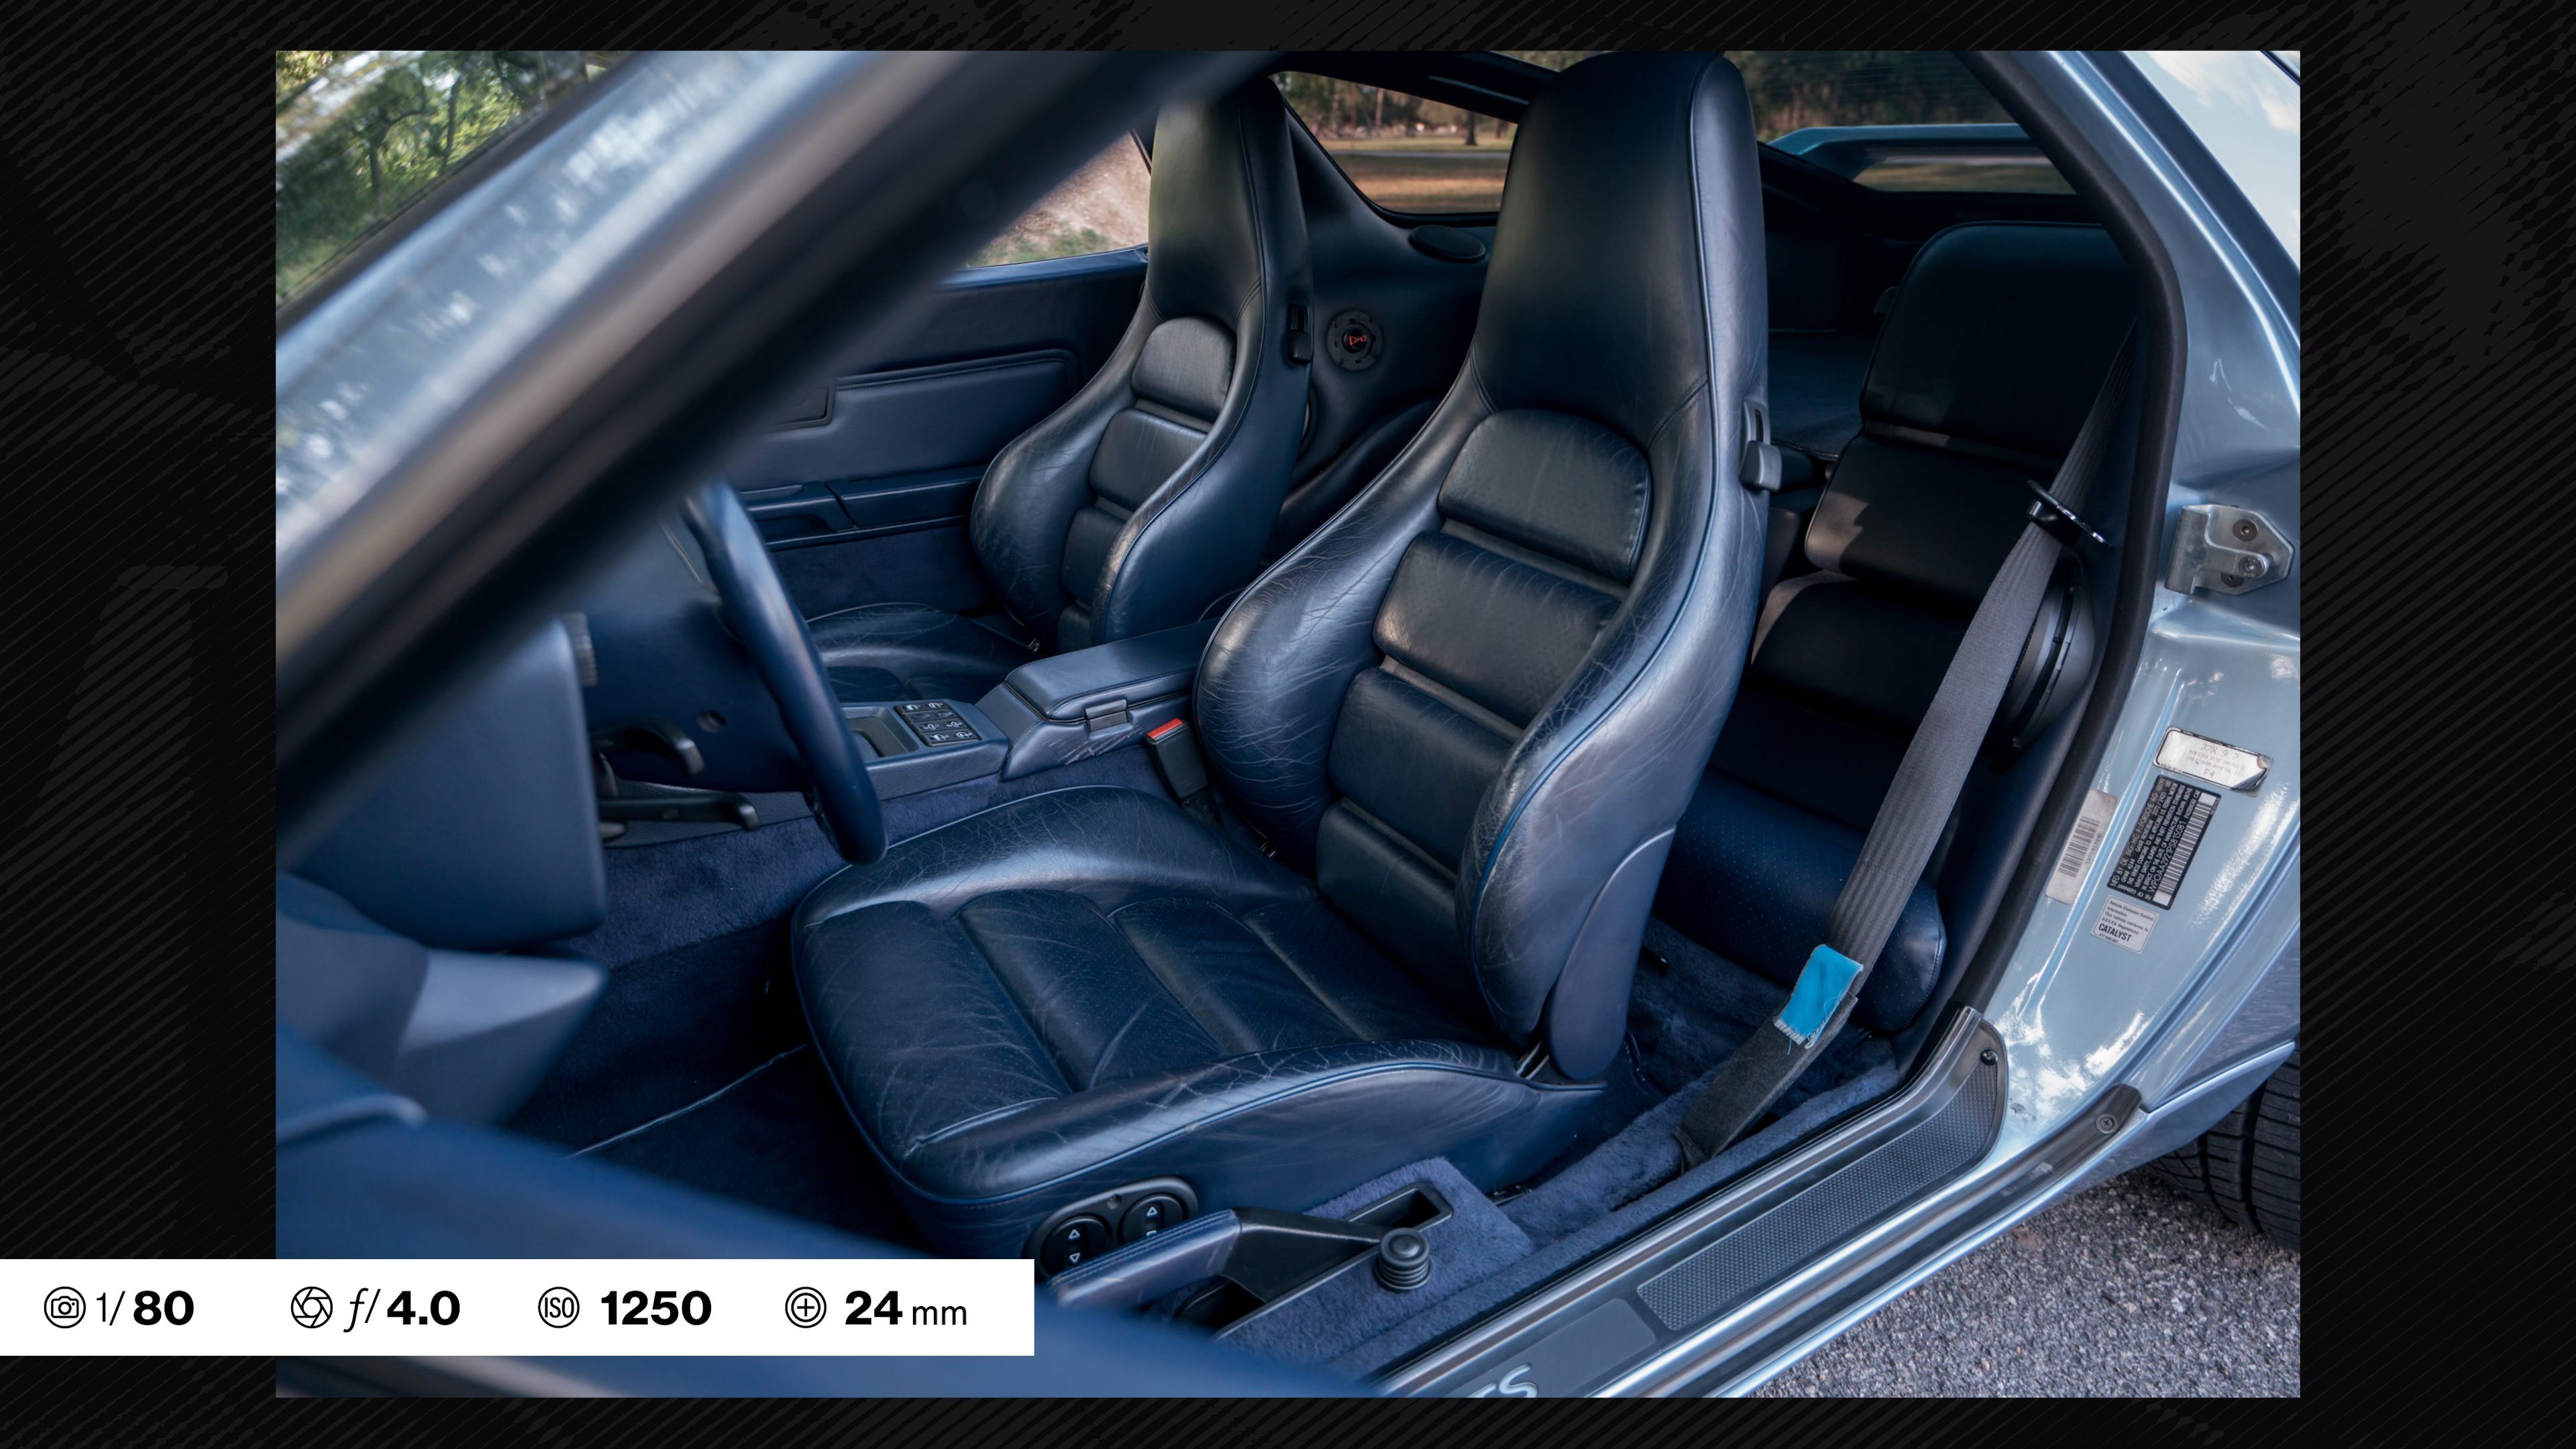
Seats tell the story of a car, about how it’s been cared for, if it’s been restored, if it’s original, if it’s been abused, and what kind of life that car has had. And it’s really important to shoot those well. You can’t take too many photos of seats.
I find that particularly with shooting tall bucket seats, you need a wide lens in order to get everything into a horizontal frame. The distance you can step back from the car is limited, because part of the door will block your view, so you have to be close and wide, and sometimes the seat barely fits in the frame at 24mm.
With the seats… even in the shade, sometimes one direction relative to the sun just works better. One seat might look great, and then you go around to the other side, and it looks bad, like it’s backlit, or more in shadow. If for whatever reason it isn’t working, sometimes you may have to rotate the car just so you can capture each seat in favorable light.
The rest of the interior shots — shifter, gauges, radio — you can probably just point and shoot, because you have good baseline settings for everything.

Conclusion
For the video, I did a brief lesson on off-camera flash, but for this post we’ll leave it at these basics.
That’s my convoluted and dense guide to car interior photography. I showed the basics, you can definitely do more artistic things with these, and shoot details at f/1.8, and get creative.
Most of the time people are looking at photos of the interior to see the condition or the spec, and this guide will help you show the full interior faithfully and accurately.

This was very useful, thanks so much for sharing your knowledge and experience!